Most people who buy a home spin bike ride it four times and then start hanging towels on the handlebars. I have watched that happen for 14 years, first on studio floors and now in the converted garage where I run my own classes, and the bike is almost never the reason. Home spin bike setup is the reason. The bike gets assembled in 40 minutes with the hex key that came in the box, the saddle gets set at whatever height the product photo suggested, and the rider spends the first month fighting knee pain and saddle soreness instead of building fitness.
This is the order of operations I walk my riders through when they text me a photo of a bike parked in a spare bedroom. It takes one afternoon. It costs nothing if the bike is already in your house, and if it isn't, it tells you exactly where to put your money before you spend it.
Do the fit work first. Buy gear second. That sequence saves more money than any coupon.
Why you should trust me
I have taught more than 5,000 indoor cycling classes, and I have ridden everything from a $3,000 commercial Keiser to $200 Amazon specials that showed up in three boxes. Every bike that lands in my garage gets the same treatment: a 50-mile week, a 45-minute max-effort sweat test, a standing-sprint stability check at full resistance, and a bearing check at the three-month mark. I keep a wrench set by the door because every single bike in that garage has needed it.
I am not precious about price. A $300 bike that fits you beats a $1,500 bike that doesn't, and I will say that to a rider's face while I'm adjusting their saddle. What I care about is whether a bike stays planted when you stand up, whether the resistance moves smoothly across the whole range, and whether the seat and pedals survive month three.
How I picked and how I tested
Two pieces of gear do most of the work in a home setup, and neither one is the console or the app subscription. One is the bike itself, specifically whether the resistance is magnetic or felt and whether the frame behaves when you stand. The other is the seat, which is the first thing I replace or pad on almost every budget bike I touch.
My checklist for a home bike is short and unforgiving. Standing sprint at full resistance: does the frame walk across the floor or flex under you? Resistance sweep: is it smooth from easy to impossible, or does it jump and slip? Saddle at mile 20: are you shifting every 30 seconds because the nose is digging in? Pedals at month three: still tight, or has the crank arm started clicking? Sweat test: does the finish survive 45 minutes of hard riding without spotting or going tacky?
I ride the way my class rides, which means intervals, climbs, and standing work, not a gentle spin while watching a show. That is the standard I used to pick the two items below.
The two things worth buying
You can spend a lot more than this. Most people shouldn't, at least not before they know they will actually ride.
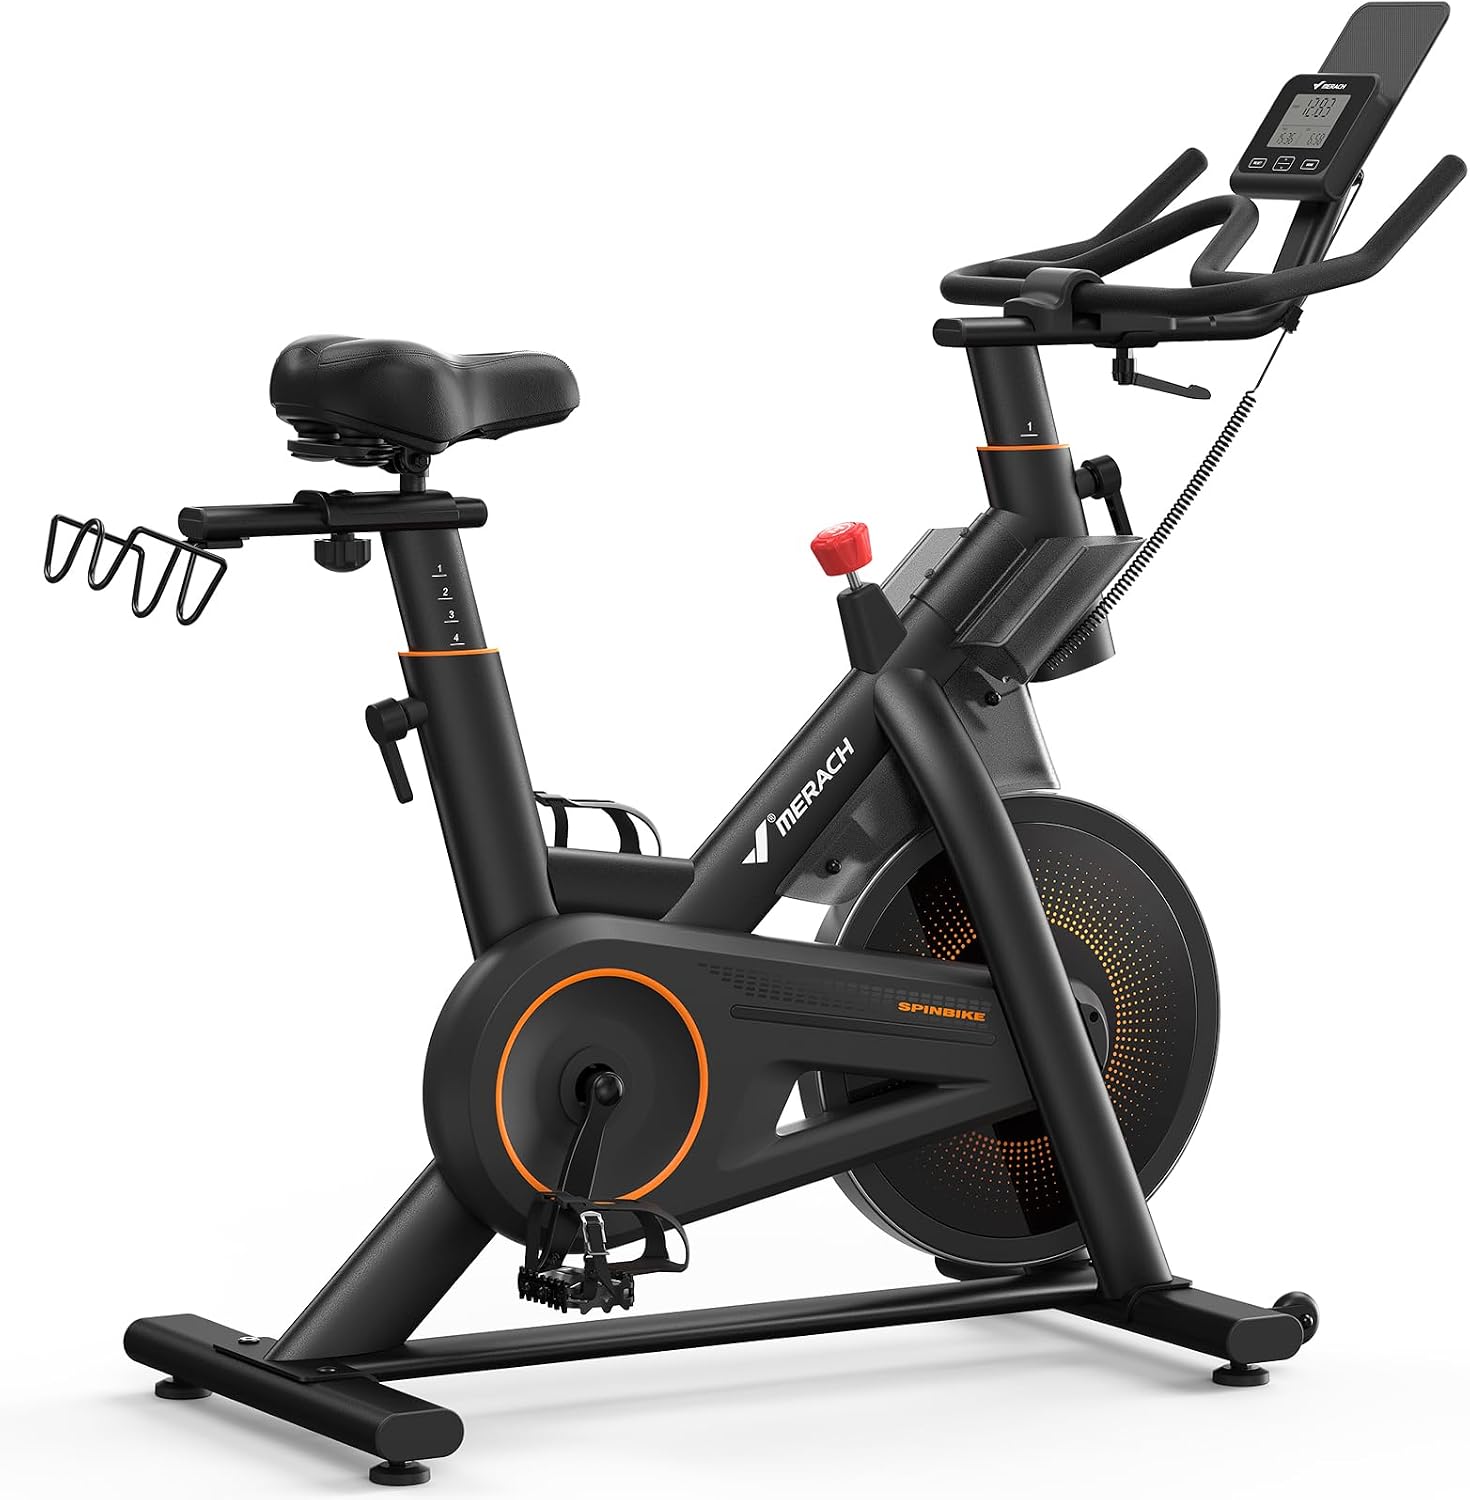
The bike: MERACH Magnetic Exercise Bike, Heavy Duty Stationary Bike for Home Gym
 Visit on Amazon →
This is the bike I point riders toward when they want a magnetic resistance home bike and a frame that is built for standing work rather than sitting and pedaling gently. Magnetic resistance is the part that matters most over time: there is no felt pad to glaze, no pad to replace at month six, and no burnt-rubber smell in a small room. It is also quieter by design, which matters if your bike lives in a bedroom or above someone else's ceiling.
Check current Amazon price before you commit, and compare it against whatever entry-level bike is on sale that week. What you are paying for here is the heavy duty frame category and the magnetic brake, not a screen or a class library.
Flaws but not dealbreakers: A home bike in this class is not a commercial studio bike. It will not feel like the Keiser you rode in a class, and the console will not be the reason you ride. If you want a big touchscreen and live classes, you are shopping in a different category and paying for an ecosystem.
Where it fits: Anyone building a first home setup in a spare room or garage who wants smooth resistance and a stable platform for intervals. If you are under 5'0" or over 6'4", measure the seat post range before you order, because no amount of good assembly fixes a bike that is the wrong size.
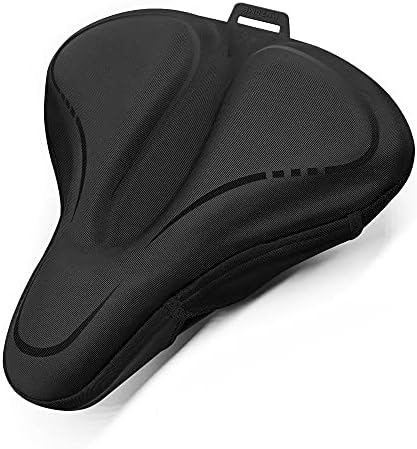
The seat: ANZOME Bike Seat Cushion, Wide Foam & Extra Soft Gel Exercise Bike Seat Cushion for Women Men Everyone, Compatible with Cruiser, Stationary Bike, Exercise Bike, Fit Wide 8.5-10in(Rain Cover Included)
 Visit on Amazon →
The seat is the first thing I replace on 90 percent of budget bikes, and it is the single most common reason a new rider quits in week three. Stock saddles are built to a price and shaped for a generic body that does not exist. This cushion is the cheap version of that fix: wide foam over a softer gel layer, sized for saddles in the 8.5 to 10 inch range, with a rain cover in the box if the bike lives outside or on a covered patio.
Check current Amazon price, and check the width of your saddle before you order. A cushion that is too wide rubs the inside of your thighs at high cadence, which is a worse problem than the one you started with.
Flaws but not dealbreakers: A gel cushion changes your effective saddle height, so re-check your seat post after you install it. It also adds a little squirm under hard standing efforts, which is normal. If you stand for most of a class, expect to slide it off for sprint days.
Where it fits: New riders, riders coming back after years off, and anyone whose stock saddle feels like a brick at mile 20. If you are already comfortable on a narrow road saddle, skip it.
The actual setup workflow
Now the part you came for. Set aside two hours and do these in order. Do not skip ahead to the fun part.
Step one: Pick the spot and check the floor. A spin bike goes on a hard, level surface. Carpet is fine if it is firm, but thick padding lets the frame rock, and a bike that rocks at easy resistance will walk at sprint resistance. Put a mat or a piece of plywood under it if the floor is uneven, and make sure you have clearance behind the bars for standing work and at least a foot on each side.
Step two: Re-torque every bolt after assembly. The factory torque on a boxed bike is not the torque you need after the first ride. Go around the frame, the seat post clamp, the handlebar clamp, and both pedals with your own hex key and tighten them properly. Pedals in particular: one side is reverse threaded, so if it feels like it is not going in, you are turning it the wrong way, not fighting a bad thread.
Step three: Set saddle height. Stand next to the bike and bring the saddle to roughly hip height, then sit on it and pedal. At the bottom of the stroke your knee should keep a soft bend, somewhere around 25 to 35 degrees, and your hips should stay level instead of rocking side to side to reach the pedal. If your hips rock, the saddle is too high. If your knee feels pinched at the top of the stroke, it is too low.
Step four: Set fore and aft. With the cranks level, the front of your knee should sit roughly over the axle of the pedal. Slide the saddle forward or back to get there, then re-check height, because moving the saddle changes your reach to the pedals. This is the adjustment most people never make and the one that fixes most knee complaints.
Step five: Set the handlebars. Height and reach should let you keep a relaxed bend in your elbows with your shoulders down and your core engaged. If you have to lock your elbows to reach the bars, bring them closer or up. A too-long reach is why riders get numb hands and low back ache at minute 30.
Step six: Sweep the resistance. Turn the knob from minimum to maximum slowly and feel for jumps, dead spots, or slip. Magnetic resistance should feel smooth the whole way. Then set it to a hard climb and stand up out of the saddle. The frame should stay planted. If it wobbles or walks, re-level the feet, check the floor, and tighten the stabilizers.
Step seven: Check pedals and shoes. Plastic toe cages are the part I replace first after the saddle. Get your feet secure, tighten the straps, and make sure your foot is on the ball of the pedal, not the arch. If you are using cycling shoes, confirm the cleats are tight and aligned.
Step eight: Install the seat cushion and re-fit. If you are running the gel cushion, put it on now, then re-check saddle height and fore and aft, because the extra stack height changes both. Level the saddle so the nose is not tipped up or down.
Step nine: Your first three rides. Ride 10 minutes the first day, 20 the second, 30 the third, all at easy to moderate resistance. Then do a short standing-sprint test at the start of week two. If the bike is stable and your knees are quiet, you are set up. If your knees complain, go back to step three and step four before you blame the bike.
Caveats: what a good setup will not fix
A setup cannot rescue a frame that flexes under a standing sprint. If the bike walks across the floor at full resistance no matter how you level it, that is a safety issue, not a tuning issue, and the fix is a different bike.
It also will not fix a plastic resistance knob that slips mid-ride. Test yours at high resistance before the return window closes, because a knob that gives way during a climb is the kind of thing you cannot adjust your way out of.
A seat cushion is a comfort fix, not a fit fix. If your knees hurt, the cushion is not the answer, your saddle position is. And a gel pad will not make a bike that is genuinely the wrong size for you feel right, so if the seat post is at the top of its range or bottomed out, start over with sizing.
Finally, a setup does not replace a warm-up. Five minutes of easy spinning before you touch the resistance knob is the cheapest injury insurance in the room.
What this all costs
The honest math is time plus two purchases. You are spending an afternoon on setup, which is free, and you are spending money on a bike and, in most cases, a seat cushion. Check current Amazon price on both before you buy, because both categories move around on sale constantly.
Compare that against the alternative, which is a bike you do not want to sit on. A bike you avoid is the most expensive thing in your house, no matter what it cost, because it takes up floor space and delivers nothing. The riders I have watched stick with indoor cycling for years are not the ones who bought the most expensive bike. They are the ones who spent one afternoon getting the saddle and bars right, then showed up three times a week on a bike that did not hurt them.
Do the fit work first. Then ride. That is the whole job.