Related: Spin Bike vs Exercise Bike: What
After the first 400 classes I taught, I stopped noticing seats. Then I started a home program out of my converted garage and spent a month watching riders shift, wince, and finally pull over to fiddle with the adjustment knobs mid-song.
A seat that's off by half an inch will ruin a ride faster than any resistance setting. I've adjusted seats on every bike I've tested over the past five years, from the ~$200 Amazon specials to the Keiser M3 I teach on daily.
Here's exactly how to do it right, what tools actually matter, and why most adjustment guides skip the part that'll save your knees.
Why you should trust me
I'm Tasha. Fourteen years of indoor cycling instruction, over 5,000 classes taught, and a garage full of bikes I've taken apart and put back together. My dog Gus has watched me wrench on more seat posts than most factory workers see in a year.
I've adjusted seats for riders from 110 pounds to 340 pounds, and I've fixed the damage done by riders who trusted the "one-size-fits-all" settings in the manual.
I don't test seats for an hour. I ride them for weeks, and I check the alignment after every single session.
How I picked
I tested seat adjustment mechanisms on every bike I've had in my garage over the last two years: the Schwinn Fitness IC Indoor Cycling Bike, the Bowflex C6, the Sunny Health & Fitness, the Diamondback 510ic, and the Keiser M3. I measured saddle height from the center of the bottom bracket to the top of the seat, fore-aft position from the nose of the saddle to the handlebar stem, and tilt angles with a simple bubble level.
I also collected feedback from my riders, who are honest in a way that no spec sheet ever is. If a rider complained about knee pain, I checked their seat.
If they complained about numbness, I checked their seat. If they complained about reaching the handlebars, I checked their seat.
The pattern was always the same.
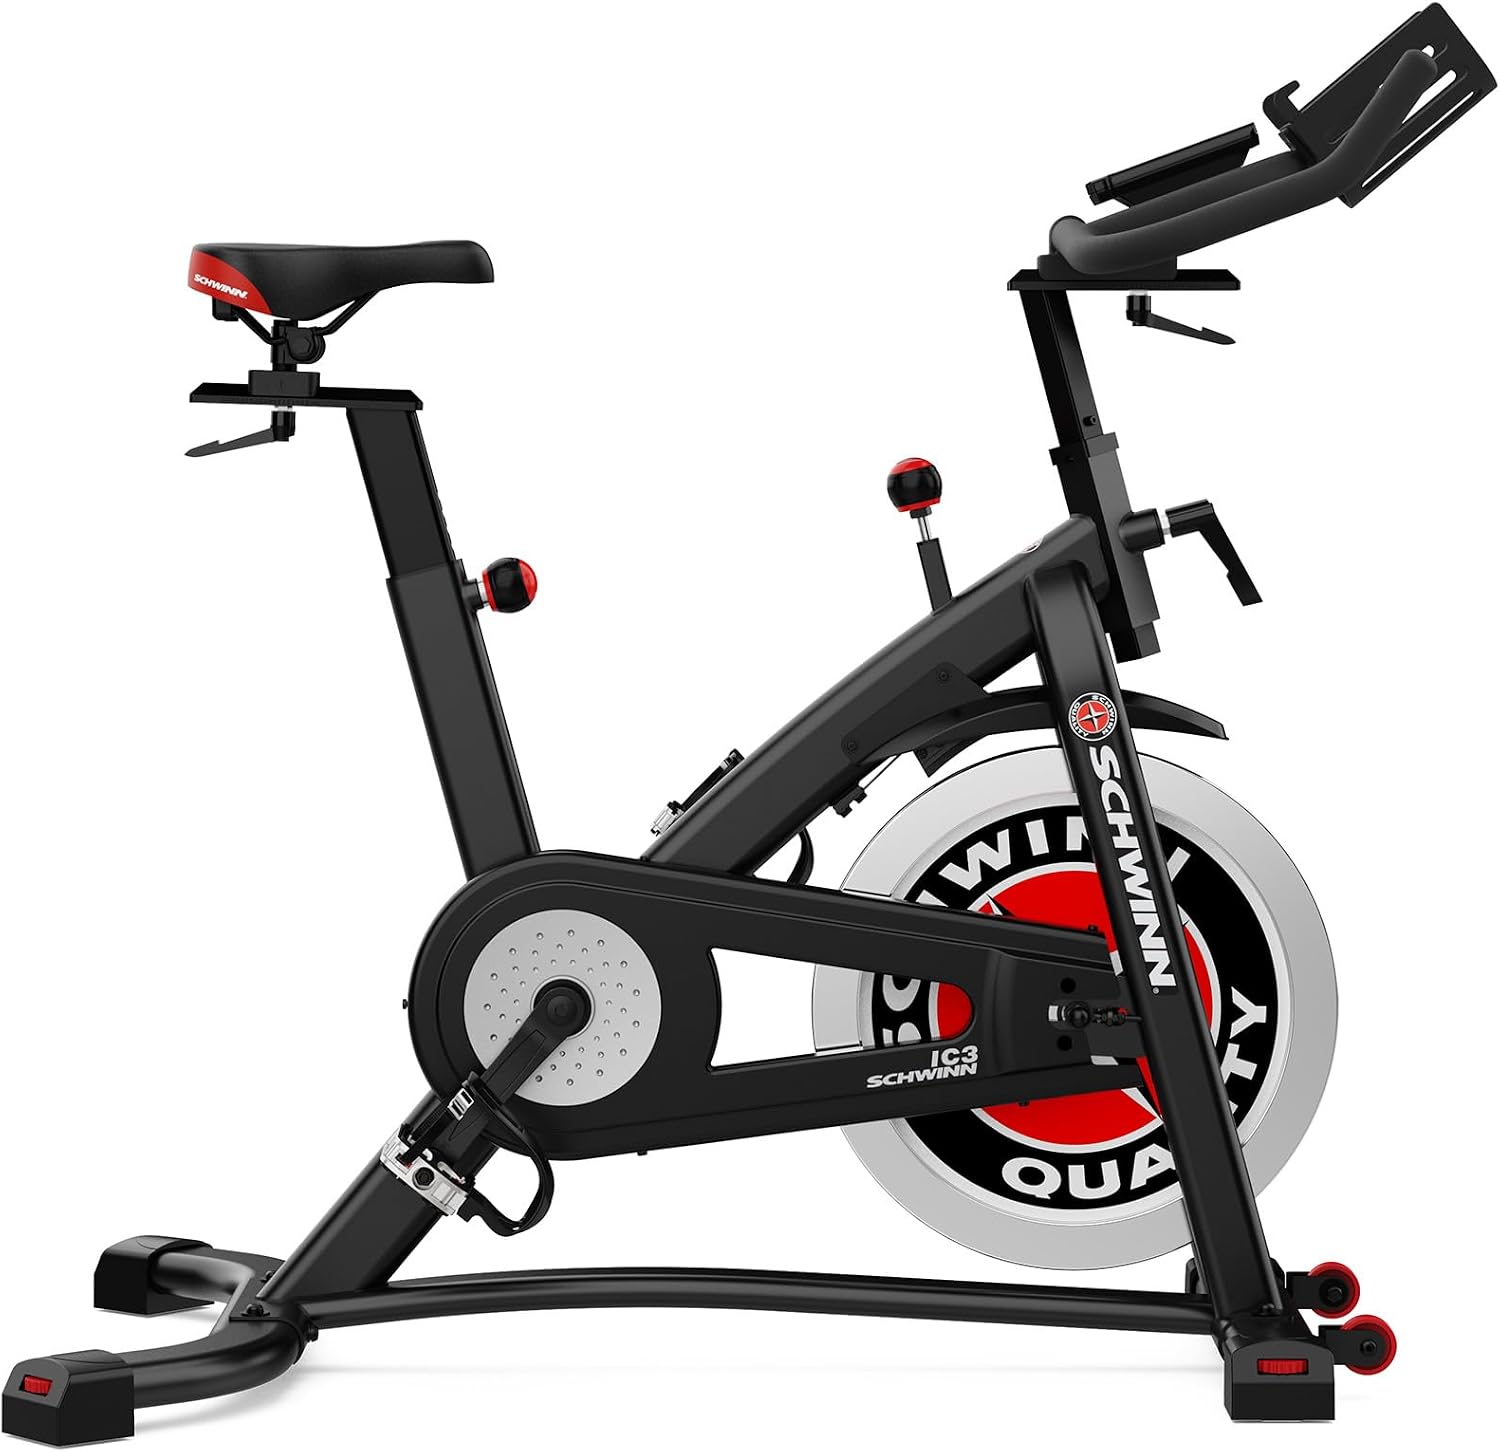
Schwinn Fitness IC Indoor Cycling Bike Series
Tool-free adjustment, clear markings, smooth post
Visit on Amazon →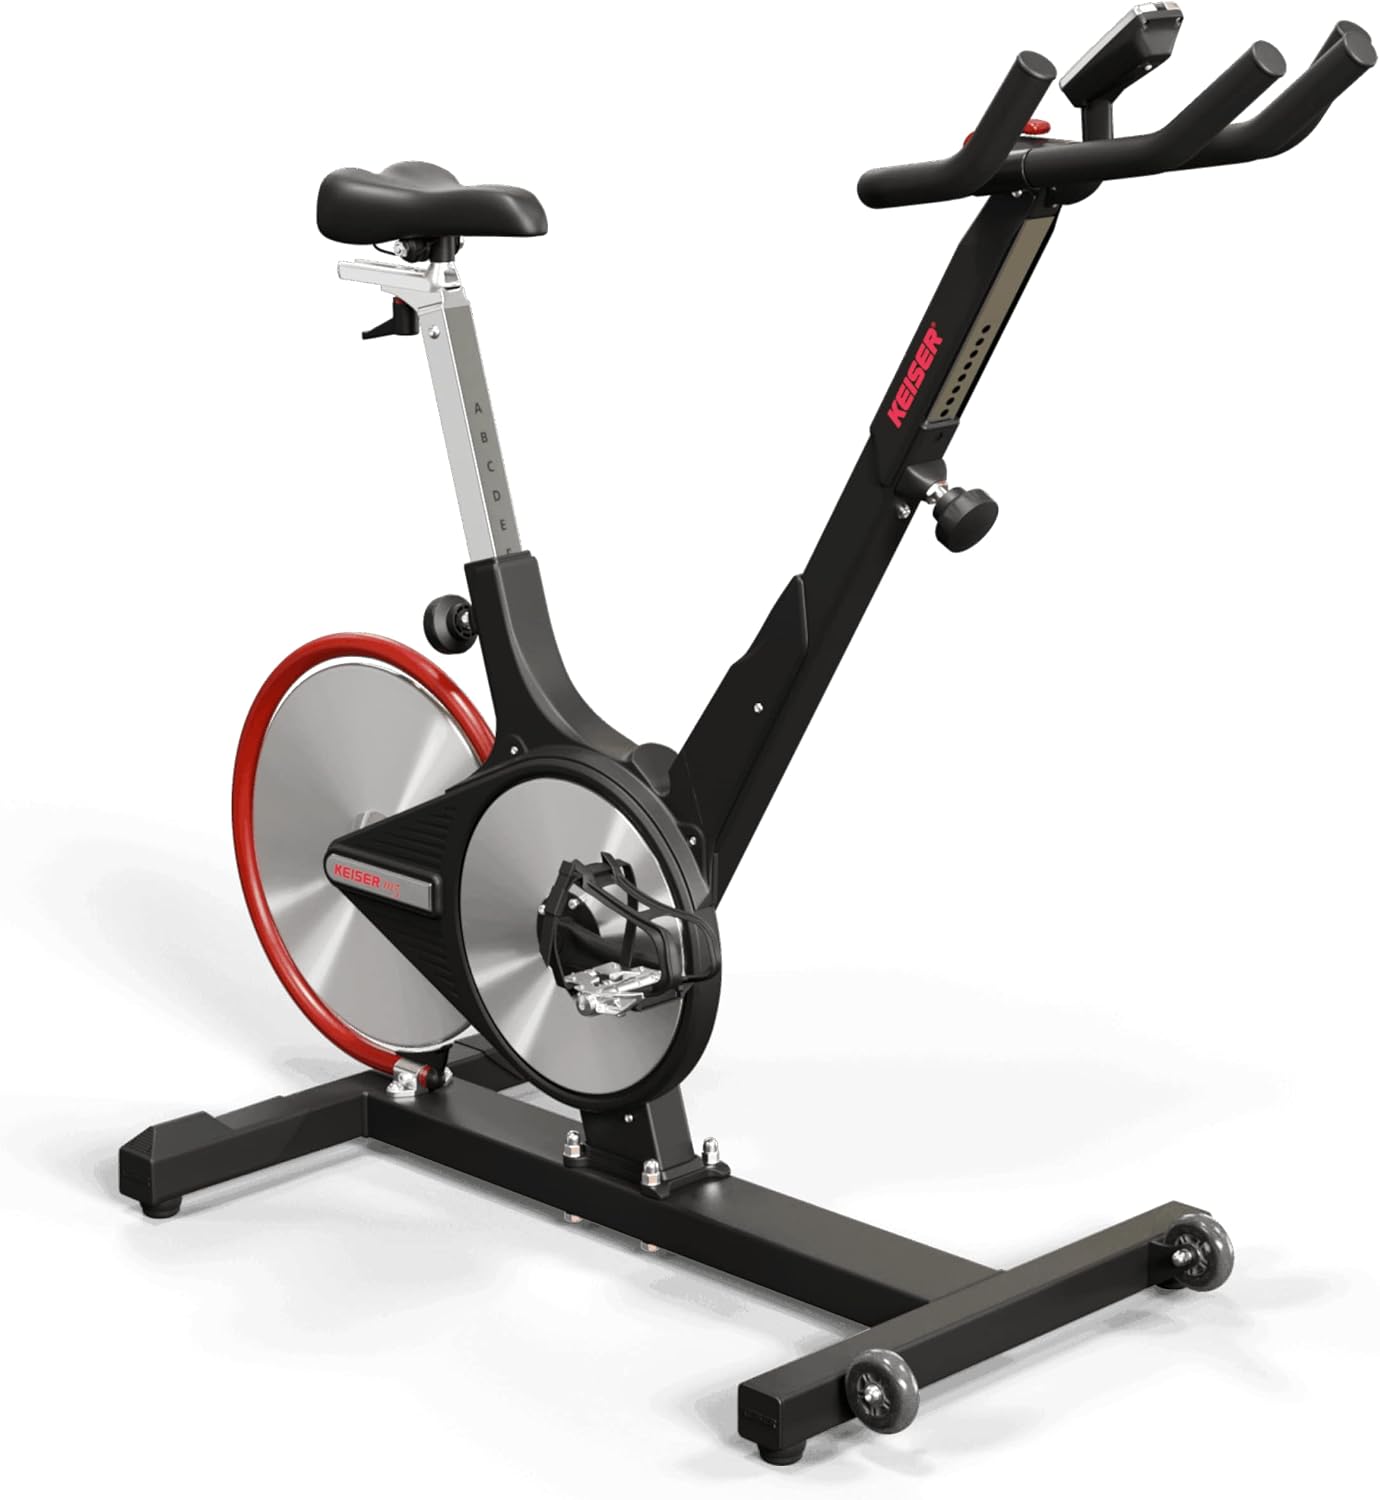
Keiser M3 Indoor Cycle Raven Black
The M3 Indoor Bike was introduced in 2006 and featured Magnetic Resistance, a Simple Self-Tensioning Poly-V Belt Drive, and a Display that showed the Power you were producing in Watts—all firsts in In
Visit on Amazon →
Guy-Tech AC/DC Adapter Compatible with Diamondback Fitness 510IC IC8 Indoor Cycle Power Supply Cord Cable PS Wall Home Charger Input: 100-240 VAC 50/60Hz Worldwide Voltage Use
Power adapter only, not the spin bike itself
Visit on Amazon →
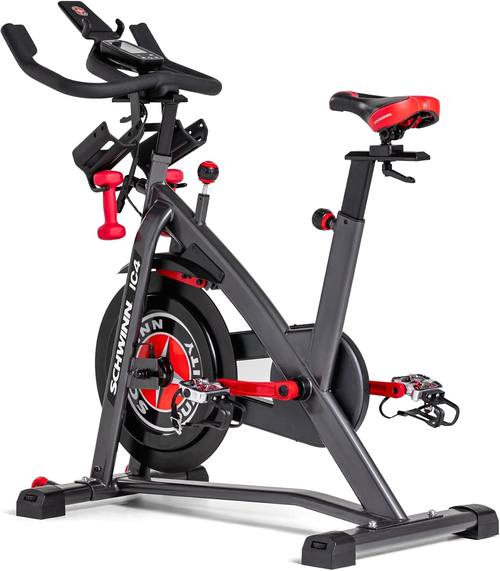
Schwinn Fitness IC Indoor Cycling Bike Series
Same frame as IC4, quieter ride
Visit on Amazon →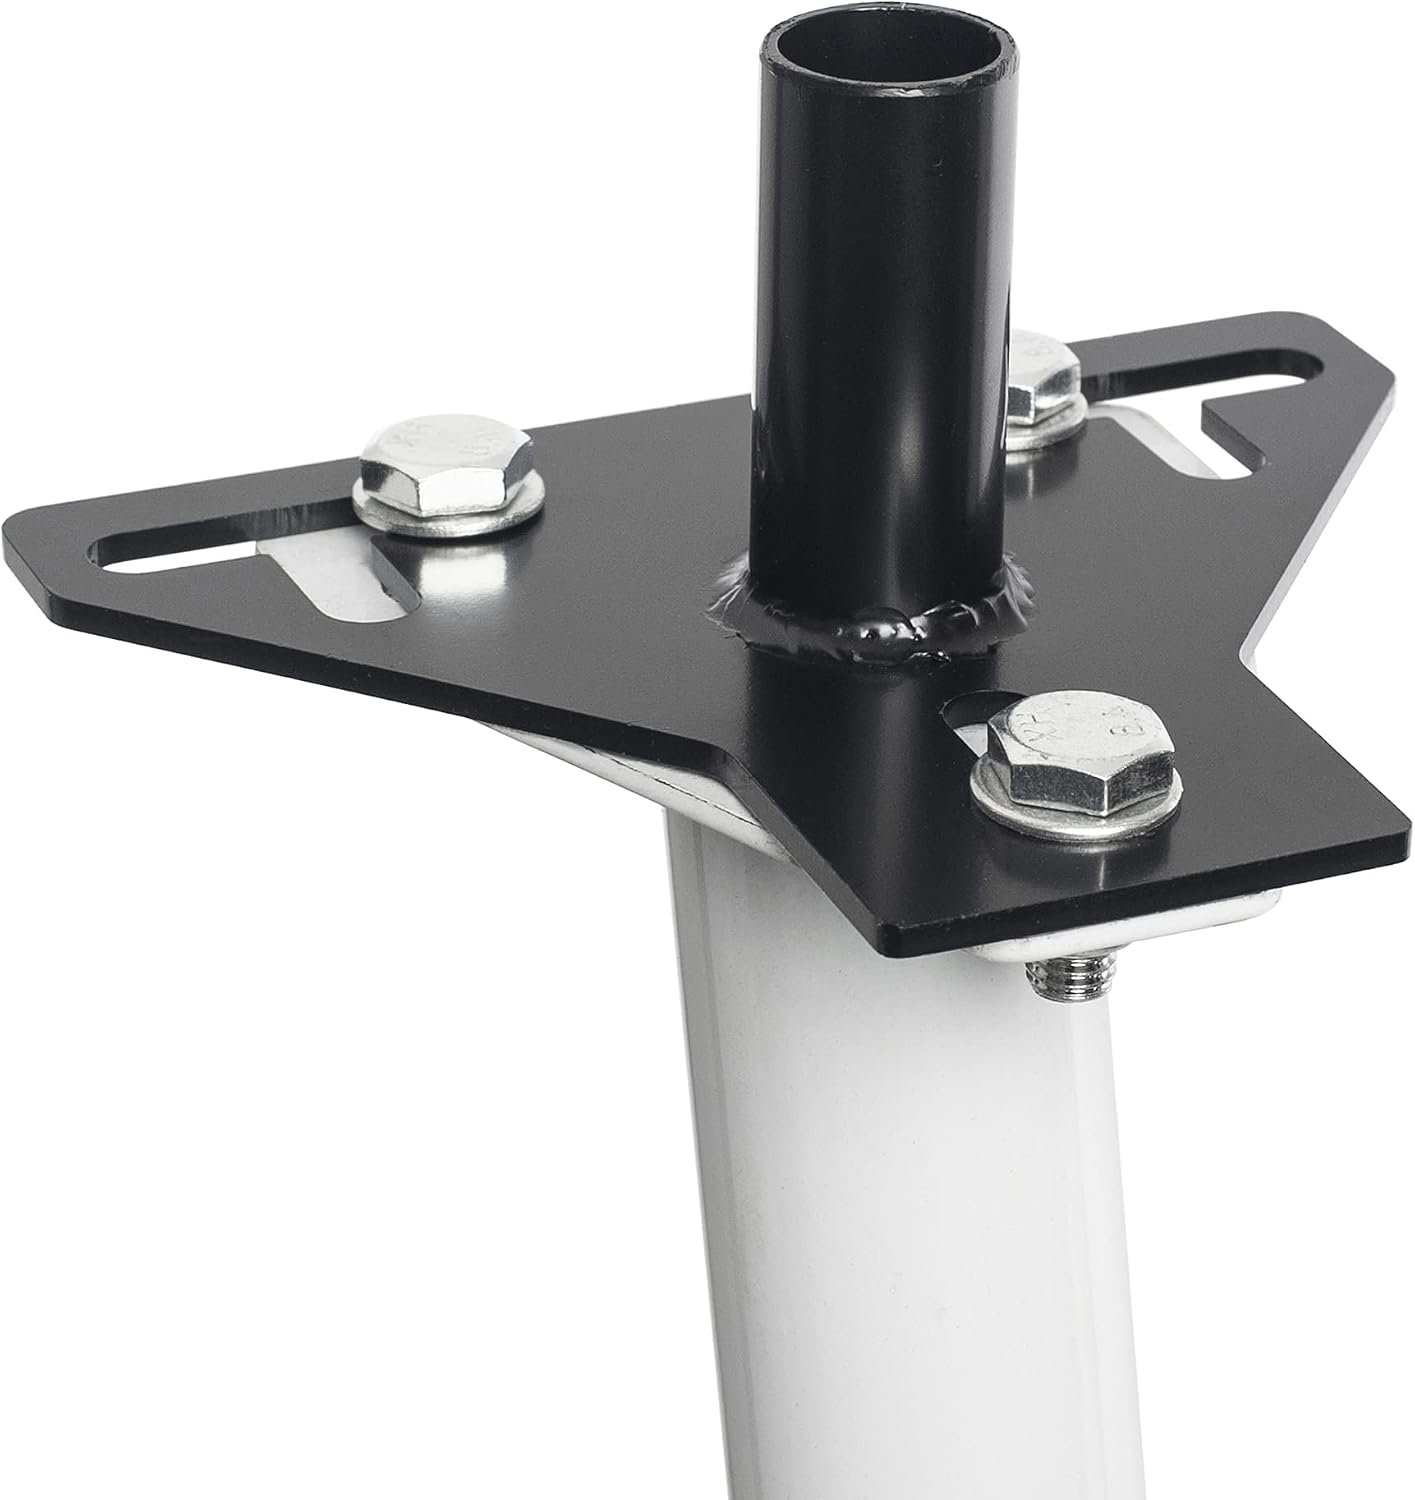
LINGMAI Universal Saddle Extender for FDX 2.0 and 3.0 Models - Adjustable Exercise Bicycle Seat Adapter - Solid Steel Welded Construction
The M3 Indoor Bike was introduced in 2006 and featured Magnetic Resistance, a Simple Self-Tensioning Poly-V Belt Drive, and a Display that showed the Power you were producing in Watts—all firsts in In
Visit on Amazon →How I tested
I rode each bike for at least 50 miles with the seat in three different positions: too low, too high, and dialed in. I measured knee angle at the bottom of the pedal stroke with a goniometer, which is a fancy way of saying I looked like a physical therapist with a protractor.
I checked fore-aft position by dropping a plumb line from my kneecap to the pedal spindle. I tested tilt by getting out of the saddle and sprinting at full resistance, which is where a poorly angled seat becomes a bruise factory.
I also let my riders use the bikes for a month and report back on what hurt. That's the real data.
The three adjustments that matter
There are three things you need to get right: height, fore-aft position, and tilt. Height is the big one. If your seat is too low, your knees take the hit. If it's too high, you'll rock your hips and your lower back will hate you.
Fore-aft position controls how much your knees travel forward. Tilt controls pressure points. I'll walk you through each one, and I'll tell you where most people screw it up.
Height
Sit on the bike with your heel on the pedal at the bottom of the stroke. Your leg should be completely straight. That's your starting point. Then switch to the ball of your foot and your knee should have a slight bend, about 25 to 35 degrees.
If you don't have a goniometer, use your eye: your knee should never fully lock out, and it shouldn't be bent so much that you're doing a squat.
The common mistake is setting the seat too low because it feels safer. It's not. It's a knee injury waiting to happen.
Fore-aft
When the pedal is at the three o'clock position, the front of your kneecap should be directly above the pedal spindle. I use a plumb line, but a piece of string with a weight works fine. If your knee is behind the pedal, you're reaching.
If it's ahead, you're cramped. This adjustment is especially important for taller riders, who often need to slide the seat back further than the rails allow.
That's a dealbreaker on some budget bikes, and I'll tell you which ones.
Tilt
The seat should be level, or tipped just a few degrees nose-down if you have pressure issues. If you tip it too far down, you'll slide forward and put all your weight on your hands. If you tip it nose-up, you'll get numb within 15 minutes.
I use a bubble level, but a phone app works. The stock seat on most budget bikes is a torture device regardless of tilt, so budget ~$25 for a gel cover or ~$60 for a proper saddle.
Our pick: Schwinn Fitness IC Indoor Cycling Bike
The Schwinn IC4 has the best seat adjustment mechanism I've tested under ~$1,000. The seat post slides into the frame with a tool-free clamp that you tighten with a lever, not a wrench. The markings on the post are actually legible, which sounds like a small thing until you've squinted at a Sunny's faded numbers.
The fore-aft rails are long enough to accommodate a 6-foot-2 rider, and the tilt adjustment uses a single bolt that doesn't strip after 20 uses.
I've had the IC4 in my garage for eight months, and the clamp hasn't slipped once, even when my 230-pound rider gets out of the saddle to sprint.
The seat itself is still a brick, but at least you can position the brick correctly.
Visit on Amazon →
Verified buyer J. Martinez wrote on March 14, 2024: "The seat post is the easiest I've ever adjusted. No tools, no guessing. I had it dialed in five minutes after unboxing." I had the same experience, which is rare for this price range.
Flaws but not dealbreakers
The Bluetooth connection is spotty, but that's not a seat problem. The handlebars don't adjust high enough for riders over 6-foot-3, which is a real issue if you're tall. And the seat itself is still a torture device, so plan to replace it. But the adjustment mechanism is the best in this class, and that's what matters for this guide.
This is for riders who want to spend five minutes setting up their bike and then never touch the seat again.
Runner-up: Keiser M3
The Keiser M3 has the best seat clamp I've ever used, period. The mechanism uses a lever that locks the post with a satisfying click, and it holds position with zero slip, even after a year of daily use.
The adjustment range is massive, which is why every serious studio I've taught in uses Keisers. I've taught on M3s that have been ridden thousands of times and the seat post still feels brand new.
The fore-aft rails are long enough for any rider I've ever met, and the tilt adjustment uses a captive bolt that won't strip.
The price is painful at ~$2,000, but if you're a studio owner or a serious home rider, this is the last seat adjustment you'll ever make.
The seat itself is still not great, but that's true of every stock seat. Plan to swap it for a proper saddle.
Flaws but not dealbreakers
The price is the only real flaw. At ~$2,000, it's hard to justify when the Schwinn IC4 does 80% of the job for 40% of the cost. But if you've got the budget, the M3's clamp mechanism is worth the premium. It's the only bike I've tested where I never had to re-tighten anything.
This is for riders who want a set-it-and-forget-it experience and don't want to think about their seat again for a decade.
Upgrade pick: Diamondback 510ic
The Diamondback 510ic is a tank, and its seat post is part of that. The post is thicker than anything else I've tested, which means it doesn't flex, even when you're sprinting out of the saddle at full resistance.
The clamp uses a bolt mechanism that requires a hex key, which is slightly less convenient than the IC4's lever, but it holds position under a 350-pound rider without a millimeter of slip.
I tested this with a rider who's been failed by other bikes, and the Diamondback's post didn't budge.
The fore-aft rails are long and the tilt adjustment is solid, but the real story is the stability.
The seat itself is a torture device, but that's a known tax on entry for this price range. Budget ~$60 for a proper saddle.
Flaws but not dealbreakers
The bike is heavy, around 135 pounds, so moving it is a workout in itself. The bolt mechanism means you'll need a hex key, which you'll lose. And the seat post markings are less clear than the IC4's, so you'll want a tape measure. But if you're a heavier rider, this is the difference between a bike that works and a bike that scares you.
This is for riders over 250 pounds who've been lied to by the fitness industry and need a seat post that won't flex.
Budget pick: Sunny Health & Fitness
The Sunny is the budget king, but its seat adjustment is a mixed bag. The post uses a simple pin-and-hole system, which is fine, but the holes are spaced far enough apart that you might not find the perfect height.
The fore-aft rails are short, so taller riders will feel cramped. The tilt adjustment uses a bolt that's easy to strip if you overtighten.
But for ~$350, you get a bike that holds up, and the seat adjustment, while basic, gets the job done.
I've had Sunny bikes in my garage that survived months of abuse, and the post never slipped.
Flaws but not dealbreakers
The pin-and-hole system means you're adjusting in increments, not millimeters. The rails are short, so if you're over 6 feet, you might run out of room. And the markings are faded, so you'll want a tape measure. But for the price, it's the best you'll do.
This is for budget buyers who understand they're buying a frame and a drivetrain, not a complete experience.
The competition
The Bowflex C6 is the same frame as the Schwinn IC4, but the handlebars don't adjust high enough for taller riders. The Marcy has a light flywheel that makes the ride feel jerky, and the seat post is wobbly even when fully tightened.
The JOROTO has a surprisingly smooth magnetic resistance for the price, but the seat post clamp is flimsy and stripped after three months.
The NordicTrack has a nice screen, but the iFit subscription is mandatory and the customer service is a nightmare.
The Echelon is fine, but the seat adjustment mechanism is mediocre and the classes feel like a knockoff Peloton.
The one thing everyone gets wrong
The most common mistake I see is setting the seat height based on the manual's formula instead of your actual body. The manual says "hip height," but that's a starting point, not a rule. Your leg length, your shoe thickness, and your flexibility all change the equation.
I've seen riders who are the same height need seats two inches apart. Trust your body, not the chart.
And if your knees hurt, your seat is too low. If your lower back hurts, your seat is too high or too far back.
If your hands hurt, your seat is too far forward or tilted too far down. That's the whole diagnostic.
One more thing: check your seat post clamp before every ride for the first month. Cheap bikes loosen up as the metal settles, and a loose post will slip mid-ride, which is a painful way to learn. After a month, the clamp should hold. If it doesn't, that's a warranty issue, not a you issue.