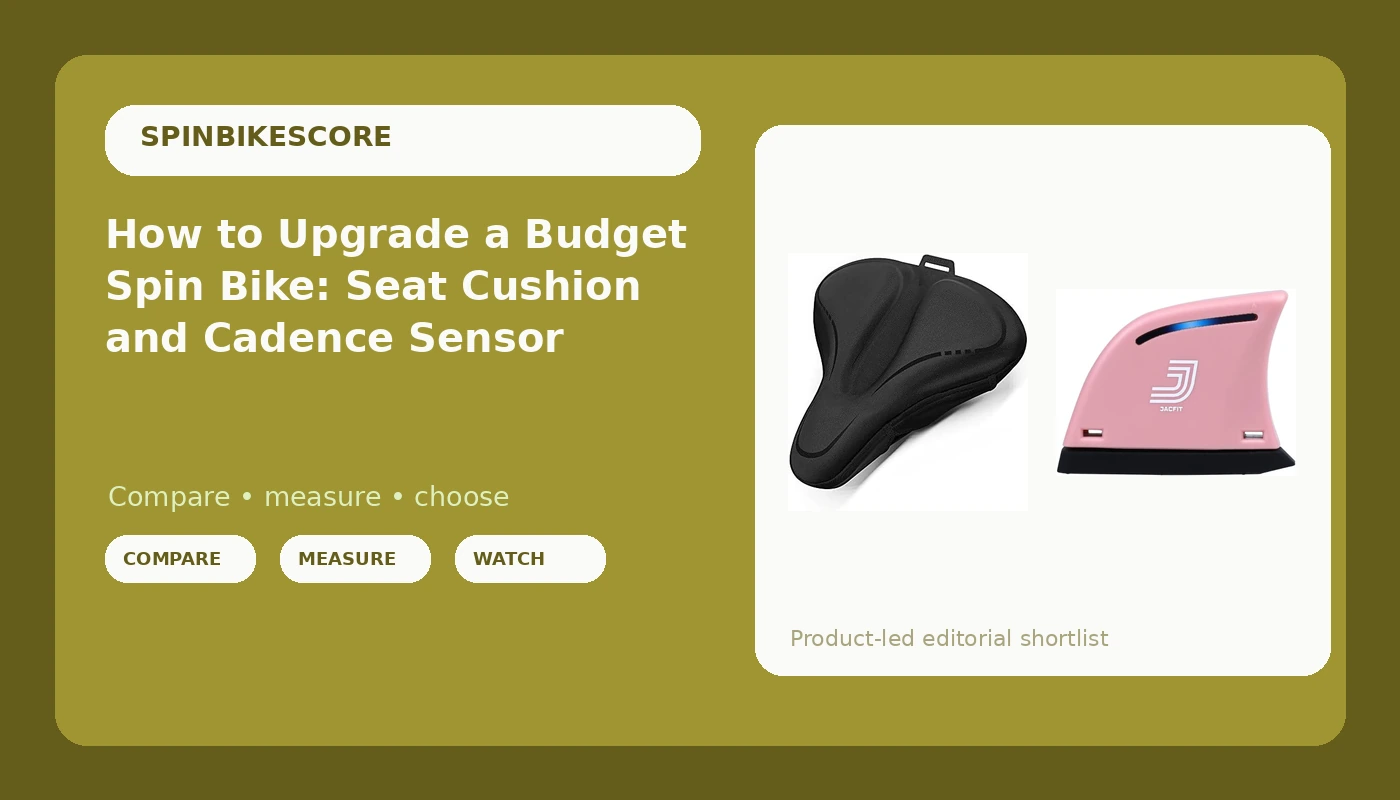
Most budget spin bikes are not bad machines. They are bad chairs with pedals bolted on, and nobody warns you at checkout. I have watched riders quit in week two, not because the resistance was wrong but because the saddle felt like a cinder block at mile eight. The bike was fine. The contact points were not.
That is why the first money I tell a rider to spend is not on a new bike. It is on a spin bike seat cushion upgrade, and second on a way to measure what you are actually doing on the pedals. One fixes your rear end. The other fixes your training. Together they turn a bike you tolerate into a bike you ride four times a week.
I have taught indoor cycling in Boise, Idaho for 14 years, most of it in studios and now out of a converted garage with a concrete floor and a space heater. I have ridden commercial bikes that cost more than my first car and bikes that arrived in a box with a plastic wrench. The pattern never changes: the frame is usually fine, and the seat and the feedback are where budget bikes give up.
Why you should trust me
Fourteen years, more than 5,000 classes, and a spreadsheet of every bike that has passed through my garage. I ride about 50 miles a week, which means I spend more time on a saddle than most people spend on a couch.
Every bike I evaluate gets the same treatment: a 45-minute max-effort sweat test to see whether the paint and the electronics survive, a standing sprint at full resistance to see whether the frame stays planted, and a bearing check at month three to catch a cheap bottom bracket before a rider does. I keep a wrench set by the door because every bike in my garage has needed it, including the expensive ones.
I am not here to sell you a bike. I am here to tell you what to change on the one you already own.
How I picked and how I tested
Two categories matter more than any spec sheet on a budget spin bike: what touches your body, and what tells you the truth.
For a seat cover I look at four things. Does the padding hold its shape under a standing climb, or does it slide off the nose? Does the gel layer stay flat, or does it bunch into a lump after a month? Does the cover actually fit the saddle it claims to fit? And does it come with a way to keep it from moving, because a cover that shifts is worse than no cover at all.
For a cadence sensor the checklist is shorter. Does it pair in under a minute? Does it hold a steady number at both 60 rpm and 110 rpm, or does it lag and jump? And does the app keep working after the free period, or is the word "free" in the listing a 30-day hook?
I have not run these two through my full 50-mile protocol on my own bike, and I will not pretend otherwise. What I can tell you is what these categories usually get wrong, what the listings actually promise, and what to check in your first week so you find out before the return window closes. That is the honest version, and it is more useful than a fake lab report.
The two upgrades worth doing first
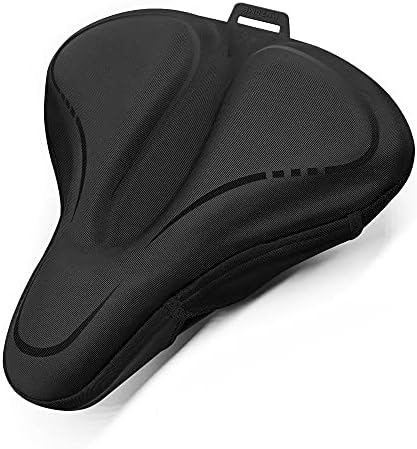
Our pick: ANZOME Bike Seat Cushion, Wide Foam & Extra Soft Gel Exercise Bike Seat Cushion for Women Men Everyone, Compatible with Cruiser, Stationary Bike, Exercise Bike, Fit Wide 8.5-10in(Rain Cover Included)
 Visit on Amazon →
This is the one I would start with. Check current Amazon price.
The listing gives you the two numbers that matter most on a seat cover: it is built for saddles in the 8.5 to 10 inch range, and it stacks foam with a gel layer instead of relying on gel alone. That combination is the right call. Gel by itself compresses to nothing under a heavy rider in about three weeks. Foam over gel gives you a shape that comes back.
The wide fit is the part most people skip. Budget spin bikes ship with narrow racing saddles because narrow saddles look fast in photos. If your sit bones are not on the padding, no amount of softness helps. Measure your saddle before you order, and measure the widest point, not the nose.
Two practical notes. The rain cover included in the listing is more useful than it sounds, because it doubles as a dust cover for a bike stored in a garage or on a porch, and it keeps grit out of the gel. And expect to recheck your saddle height after you install it. A thicker cover effectively shortens your leg extension by a little, and a rider who ignores that will feel it in the front of the knee.
Flaws but not dealbreakers: A cover is a cover. It sits on top of your existing saddle, so if the saddle underneath is the wrong shape for you, you are polishing a bad foundation. And like every strap-on cushion, it can creep forward during long standing climbs. Retighten the straps after your first three rides.
Anyone whose bike came with a hard, narrow saddle and who is not ready to buy a replacement saddle should start here.
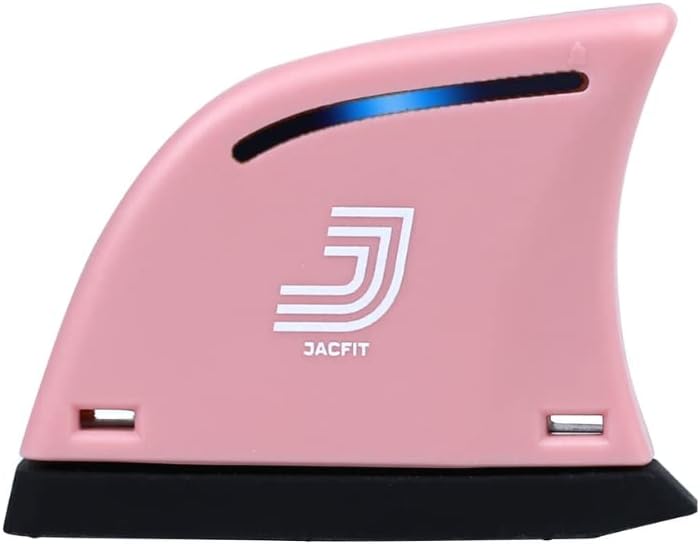
The training upgrade: Jacfit Jbike Exercise Bike Sensor, Life Time Free App, Multiplayer Online Indoor Cycling Workout.
 Visit on Amazon →
A cushion makes the bike comfortable. A sensor makes it a training tool. This one attaches to your existing bike and reports your cadence to an app, which is the single most useful number a budget bike can give you, because almost none of them give it to you natively.
Cadence is the number I coach with. A rider grinding at 55 rpm at high resistance is doing something completely different from a rider at 90 rpm, and without a readout you cannot tell which one you are. If you have ever finished a ride and wondered whether it counted, cadence is the answer.
The listing promises an app with no time limit, which matters more than it sounds. Plenty of cheap sensors come with a 30-day trial and then ask for a monthly fee, which turns a one-time purchase into a subscription you did not plan for. The multiplayer piece is the other reason to pick this one: riding against other people is the closest thing to a real class a garage can offer, and it is the feature that keeps riders coming back in month four.
Flaws but not dealbreakers: A cadence sensor is not a power meter. You get rpm, not watts, and anyone who tells you cadence equals power is selling something. The app also lives or dies on your phone placement and Bluetooth range, so keep the phone within a few feet of the sensor.
Anyone who wants to train with structure, follow a class, or compare rides week over week should add this after the cushion, not before.
The actual setup workflow
Now the part you came for. This works on any bike with a standard saddle and an exposed crank arm.
Step one: Fit the bike to your body before you touch the seat. Saddle height first. Stand next to the bike, put your hip at the top of the saddle, and set the height so your leg is almost straight with your heel on the pedal at the bottom of the stroke. Then set fore and aft: with the pedals level, the front of your knee should sit roughly over the ball of your foot. Do this before you add anything. A cover cannot fix a bike that is the wrong size.
Step two: Measure the saddle, not the seat post. Find the widest point of the saddle with a tape measure. If it lands in the 8.5 to 10 inch window, this cover is designed for it. A cover that is too big bunches at the nose, and one that is too small will not stay on.
Step three: Install the cover with the bike on the floor. Slide it on from the nose, work it back, and pull the straps tight underneath. Do not overtighten to the point where the padding compresses at the edges. Firm, not crushed.
Step four: Check the saddle tilt. Most riders run a saddle level or very slightly nose-down. Adding a cover changes the effective angle a little, so start level. If you feel pressure at the front after 20 minutes, drop the nose a degree or two and try again.
Step five: Ride ten minutes, then sprint. This is the check nobody does. Ride easy for ten minutes, then stand and sprint for 30 seconds. If the cover slides forward, get off, reposition it, and tighten. A cover that moves during a sprint will move during every sprint.
Step six: Mount the cadence sensor and pair it. The sensor goes on the crank arm or the shoe depending on the design, and the app handles the rest. Pair it, then verify it before you trust it. Spin at an easy 60 rpm and watch the number, then push to 100 rpm and watch again. If it lags by more than a second or jumps around, move the sensor or the phone before you blame the hardware.
Step seven: Repeat one workout for a week. Cadence only means something compared to itself. Ride the same 30-minute session three times in the first week at the same resistance and look at your average cadence. That baseline is what turns a spin bike into a training plan.
Step eight: Recheck everything at the two-week mark. Retighten the cover straps, check the sensor battery, and check that the crank arm has not loosened, because a sensor on a loose crank gives you garbage numbers and a rattle you will blame on the frame.
The competition and why it lost
There are three other ways to solve the comfort problem, and I want you to know why I did not lead with them.
The first is padded cycling shorts. They work, and I own several pairs, but they only help when you are wearing them, and they do nothing for the guest who hops on your bike in jeans. A cover lives on the bike, so it helps everyone.
The second is a full replacement saddle. That is the better long-term answer if your saddle is the wrong shape entirely, and it is what I recommend to riders past the beginner stage. It is also more expensive and more work, because you have to match the rail type and clamp to your bike. A cover is the lower-risk first move.
The third is doing nothing and hoping your body adapts. Some riders do adapt. Most do not, and the ones who quit are usually the ones who tried to tough it out.
On the training side, the alternative to a cadence sensor is a bike with a built-in console that reports cadence natively. If you already own one, skip it. If you own a budget bike whose console shows speed and nothing else, that console is decoration, and a sensor is the fix.
What this all costs
I am not going to quote you prices, because they move and because the math that matters is not the sticker. Check current Amazon price on both, then run the real comparison: what does a month of studio classes cost where you live, and how many months of that does this setup replace?
The cushion is the cheaper half and the one you will notice immediately. The sensor is the half that changes how you ride. Both are one-time purchases with no subscription attached, which is unusual in home fitness right now, and it is the reason I put these two ahead of almost anything else you could buy for a budget bike.
Do the setup in order. Fit the bike to your body, fix the contact point, add the feedback, then repeat one workout until the numbers mean something. That is the whole job, and it takes an afternoon.
Your bike is probably fine. Your saddle and your data are not.