I have taught indoor cycling for 14 years, somewhere north of 5,000 classes, most of them in a converted garage in Boise with a concrete floor and a space heater that fights me all winter. In that time I have ridden $3,000 commercial bikes and $200 Amazon specials, and I have learned that the gap between them is narrower than the price tags suggest, at least for the first year. What separates a bike you ride three times a week from a bike that becomes a clothes rack is rarely the brand. It is the resistance mechanism, the saddle, and whether the frame stays planted when you stand up.
So when riders ask me to help them build a budget spin bike setup, I do not start with the bike. I start with the three things that decide whether the setup is still in use at month three. The two bikes here are the current sub-$150 contenders. The other two products are the fixers: a gel saddle cushion and a torque wrench. That is not a random pairing. It is the exact order I would spend money if I were starting from zero in a spare room.
Related: How to Set Up a Spin Bike at Home Without Buying a Commercial Bike
For most riders, the best budget spin bike setup in 2026 is the 32-level magnetic resistance bike, plus a gel saddle cushion, plus a torque wrench you actually use on assembly day. The magnetic bike wins on the mechanism that determines how the bike feels in year two. The cushion fixes the seat that would otherwise end your third ride. The wrench is the difference between a bike that stays quiet and a bike that develops a rattle you can never find.
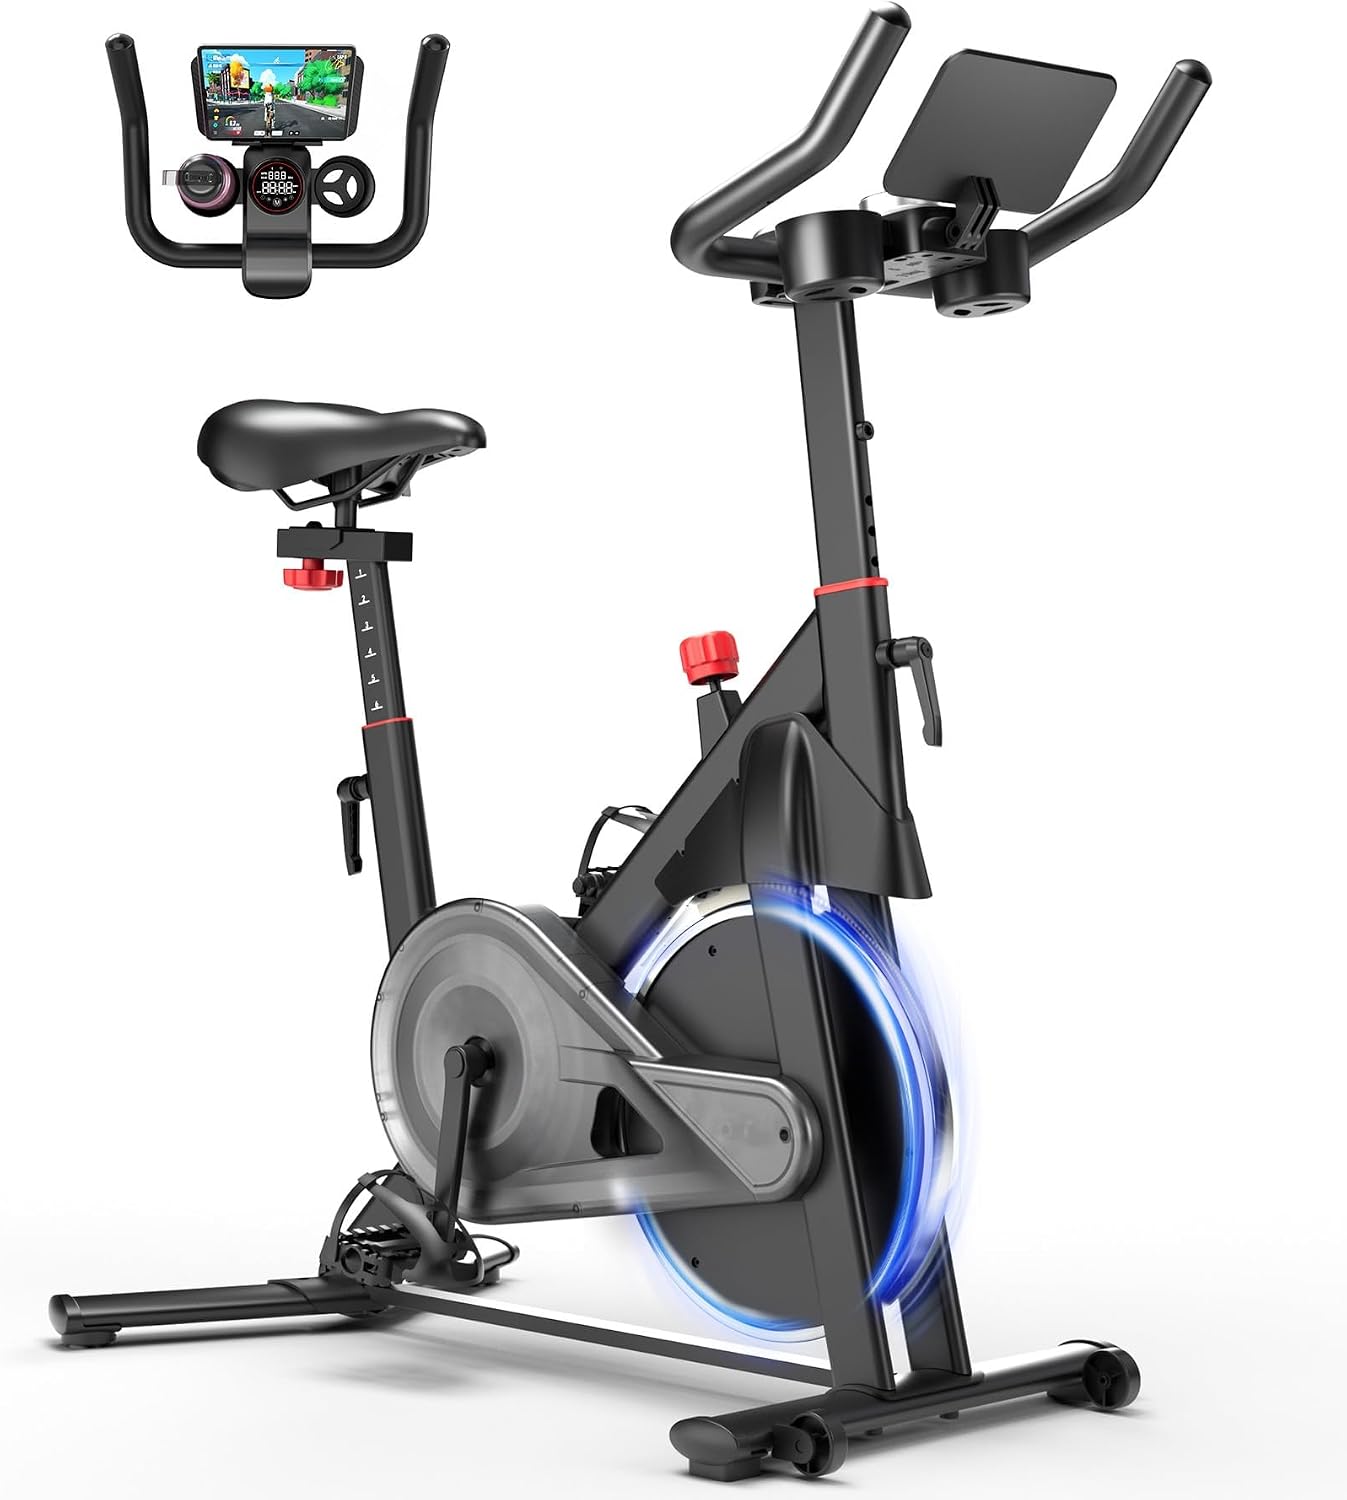
Indoor Cycling Bike, 32-Level Magnetic Resistance
Magnetic resistance and a silent belt drive, the two specs I care about most
No app ecosystem, and the stock saddle is a placeholder
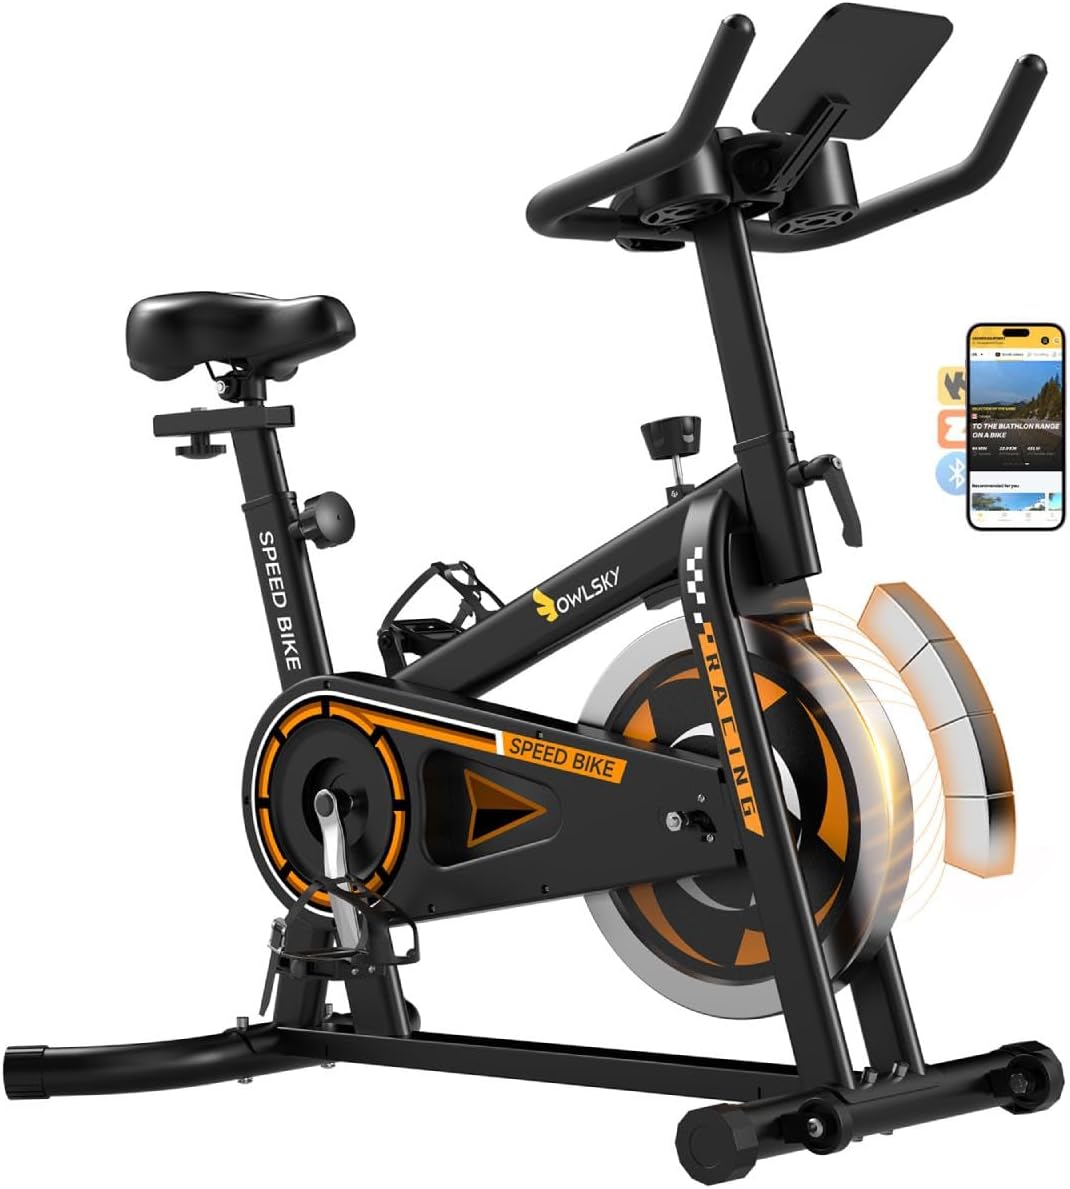
OWLSKY Exercise Bike with App
Tablet holder and app connectivity remove the excuse not to ride
Listing leads with the screen, not the resistance mechanism
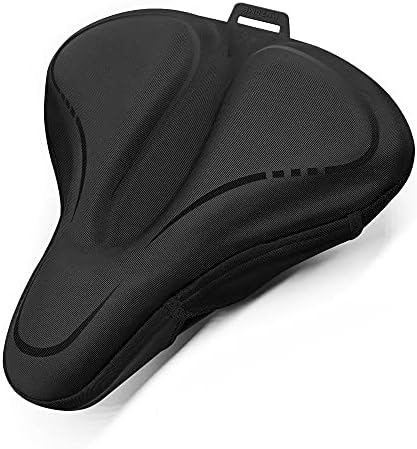
ANZOME Bike Seat Cushion, Wide Foam and Gel
Cheapest way to make a budget saddle survivable past mile 10
It is a fix, not a real saddle, and it moves if you do not cinch it
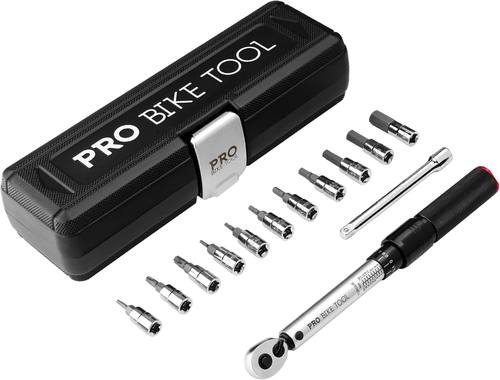
PRO BIKE TOOL Torque Wrench Set, 1/4 Inch Drive
The 2.2 to 16.9 Nm range covers every fastener on a home bike
One more thing to buy, and one more thing to learn to use
Prices and availability were captured from Amazon Creators API and may change.
How I test a spin bike before I recommend it
Every bike that comes into my garage gets the same four-part test, and it is the same test I would tell you to run during your return window.
First, the standing sprint. I clip in, push the resistance into the top third of the range, and stand. A bike that is going to wobble wobbles here, and no amount of tightening the stabilizer feet fixes a frame that flexes under load. Second, the resistance sweep. I go from the lightest setting to the heaviest and back, slowly, listening for a change in pitch and feeling for a dead spot in the middle of the range. Third, the sweat test: 45 minutes at max effort, then I look at the paint on the frame and the finish around the flywheel. Cheap paint fails this test and starts to bubble by month four. Fourth, the bearing check at month three, which is when a cheap bottom bracket starts to announce itself with a click you can feel through the pedals.
I keep a wrench set by the door because every bike in my garage has needed it, including the expensive ones. That is not a knock on any brand. It is what a machine does when a human being stands on it at sprint resistance four times a week.
The two bikes, and what the specs actually mean
Start with the bike that advertises 32 levels of magnetic resistance. The number of levels matters less than the mechanism. Magnetic resistance does not wear out the way felt pads do, it does not shed dust into your carpet, and it stays smooth across the whole range instead of getting grabby at the top end. A 32-level range also means the jumps between settings are small enough that you can find a gear for a 20-minute climb and a different one for a recovery spin without feeling like you skipped a step. On a bike with eight levels, you are always either under-geared or over-geared, and that is the fastest way to hate a bike.
The silent belt drive is the other reason this one is my pick. A belt does not need lubrication, it does not slap the way a chain can under load, and it does not leave grease on your calf when you step off. If you live in an apartment with a neighbor below you, the belt is not a luxury, it is a courtesy.
The stated fit range is 5'1" to 5'11" with a 300-pound capacity. That covers most riders, but if you sit at either edge of that window, measure your inseam before you order and check the seat post travel against it. And treat the 300-pound figure as a working limit, not a suggestion. A bike rated at 300 pounds does not want a 300-pound rider doing standing sprints on it every day.
The OWLSKY bike takes a different approach. It leads with the app and the tablet holder, and that is a legitimate strategy. It is the same strategy Peloton built a company on, and the logic holds: if you know you will not ride without a screen in front of you, a bike with a tablet holder removes one excuse. It also carries a 300-pound capacity and an adjustable seat, so the fundamentals are there.
What the listing does not lead with is the resistance mechanism, and that is the spec I care about most. When a product page puts connectivity first and the brake second, I want hands on the bike before I trust it with a standing sprint. It is the friendlier of the two for a casual rider who wants a screen and a workout, and the less convincing of the two for someone who plans to ride hard five days a week.
The part of the setup nobody budgets for
Here is the piece riders skip, and it is the reason most budget bikes end up in a garage sale. The stock saddle on a bike in this price range is built to a price. It is usually narrow, firm, and shaped for someone who has never spent 45 minutes sitting on it. My rule for riders is simple: if you are sore at mile 10, you will not be on the bike at mile 20 next week, and the bike will be holding laundry by spring.
The ANZOME cushion is wide, gel over foam, and shaped for saddles roughly 8.5 to 10 inches wide, which is where most budget spin bike saddles land. Measure yours before you order. A cushion that is too wide will chafe the inside of your thighs on every pedal stroke, and a cushion that is too narrow will slide around under you.
Two notes from someone who has replaced a lot of saddles. First, a gel cushion is a bridge, not a destination. It buys you comfort while you build the sit-bone tolerance that takes about three weeks of consistent riding. Some riders keep it forever, and that is fine. Second, a cushion that is not strapped down tight will shift under you during a standing climb, and a moving cushion is worse than a hard saddle. Cinch it down and re-check it after the first two rides, because the gel compresses and the straps loosen.
The included rain cover looks like a strange accessory for an indoor product until you remember how many home bikes live on a covered patio or in a garage that gets damp. If yours does, use it.
The tool that keeps the bike safe
Now the item nobody puts on a wish list and everybody needs. A spin bike is a machine held together by bolts, and every one of those bolts has a specified torque. The handlebar post, the seat post, the pedal threads, the stabilizer feet. Tighten them by feel and you will either leave something loose enough to move under load, or you will strip a bolt that was never meant to absorb your full body weight through a hex key.
The PRO BIKE TOOL set is a 1/4 inch drive with a 2.2 to 16.9 Nm range, which is exactly the window a home spin bike lives in. Most fasteners on a budget bike want somewhere between 5 and 15 Nm. A 1/4 inch drive is the right size for the small hex bits you will actually be using, and the low end of the range is what matters most, because a big automotive torque wrench that starts at 30 Nm is useless on a bike. You would never feel it click.
Use it on assembly day, then once a month. The monthly check takes four minutes and it is the single best thing you can do to keep a budget bike quiet. Most rattles on a home bike trace back to a loose bolt, not a worn part, and a loose bolt on a seat post is a safety problem rather than an annoyance. If you only buy one tool for a home gym, buy this one.
The trade-offs, plainly
Nothing here is perfect, so here is where each pick gives something up.
The magnetic bike has the better resistance mechanism and the better drivetrain, and it has no app, no screen, and no classes. You bring your own entertainment, which for some riders means they never ride.
The OWLSKY bike has the tablet holder and the app, and its listing is quieter about the brake. If you ride seated endurance miles and want a screen, that trade is fine. If you stand and sprint, I would want to feel the resistance before committing.
Neither stock saddle is going to survive a daily rider, which is why the cushion is in this comparison at all. And the cushion is not a permanent answer for everyone, because some riders eventually want a proper saddle with the right width for their sit bones rather than a pad on top of a bad one.
The torque wrench is the only item here that costs real money for something you use four minutes a month. It is also the only one that transfers to every bike, every piece of furniture, and every car you will ever own. I think that math is obvious, but it is your money.
Who should buy what
Buy the 32-level magnetic bike if you plan to stand up in the saddle, ride hard, and want the resistance to feel the same in year two as it did in month one. That is the bike I would put in a garage.
Buy the OWLSKY bike if a screen and an app are what get you on the bike in the first place, and if your riding is mostly seated endurance work. Honest self-assessment beats spec sheets every time.
Buy the cushion if your saddle measures somewhere in that 8.5 to 10 inch window and you are sore past mile 10. It is the cheapest upgrade in this article and the one with the fastest payoff.
Buy the torque wrench if you are assembling anything yourself, which on a budget bike you are. Assemble it once with a torque wrench and you skip the six-month period where you cannot figure out where that noise is coming from.
What I am testing next
I have a stack of budget bikes in the garage right now for a sub-$600 test, five units, and the interesting finding so far is not that the cheap bikes got better. It is that the mid-range bikes got worse, which is shrinking the gap in a way that helps nobody except the budget shopper. I am running each one through the same four-part test, and the standing sprint at full resistance is still the one that separates them.
The other thing on my bench is a bearing check at month three on two bikes that measured smooth out of the box. Bearings are where budget bikes hide their compromises, and three months is long enough for a cheap bottom bracket to start talking. I will have numbers on that soon, and if a bike that looked good in week one does not hold up, I will say so.
Until then, the advice stands. Pick the bike on its resistance mechanism and its frame, fix the saddle before you need to, and keep a torque wrench by the door. Shoulders down, core engaged, resistance up. That is the whole class.