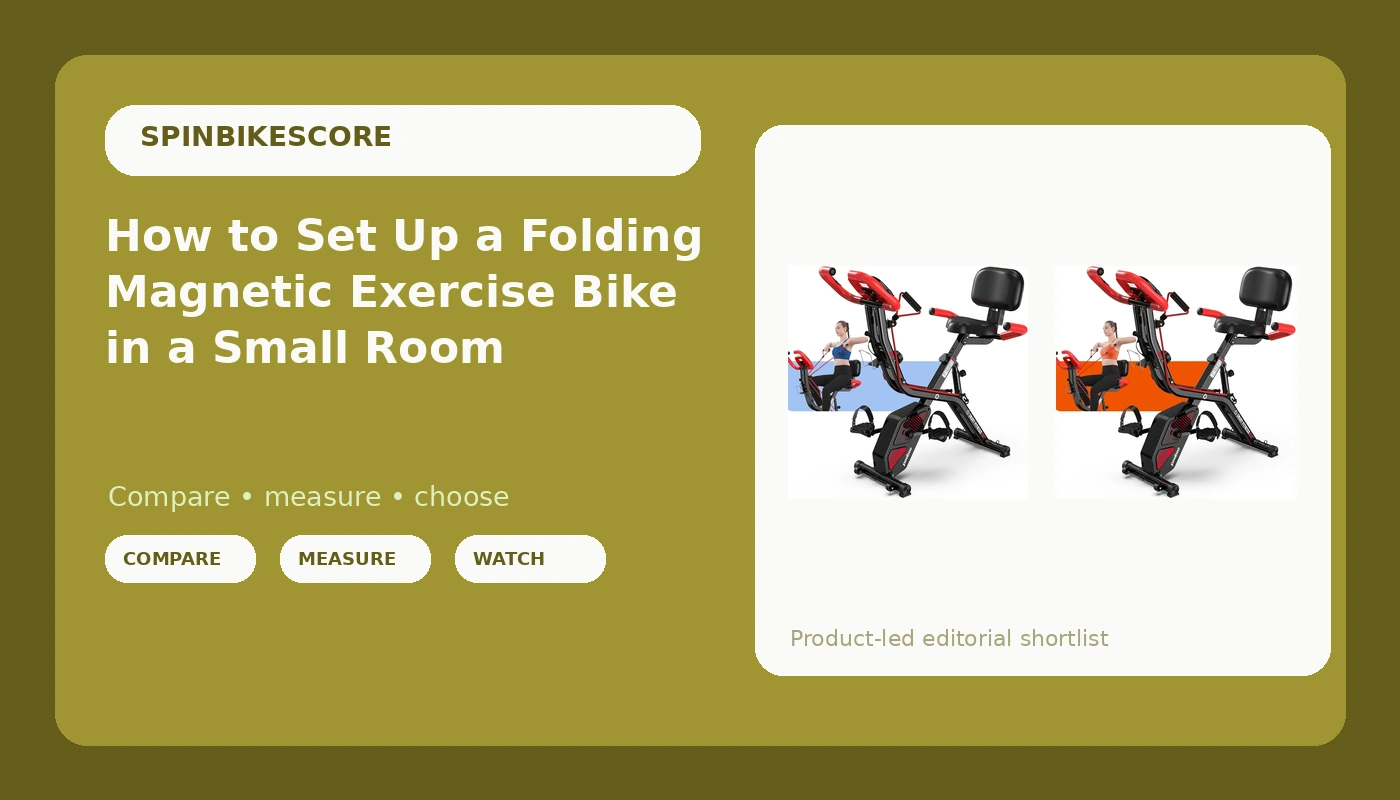
Most people set up a folding magnetic exercise bike the same way they set up a bookshelf. Unbox it, bolt the pedals on, sit down, ride. Then the seat bones start complaining around mile 20, the resistance knob slips the first time they stand up, and the frame rocks side to side at sprint speed.
I have taught indoor cycling for 14 years and I run my own spin program out of a converted garage in Boise. I have watched a lot of riders buy a bike, love it for three weeks, and then drape laundry over it. Almost none of them quit because the bike was bad. They quit because nobody told them how to set it up.
A folding magnetic exercise bike is a small-space compromise, and compromises need a setup routine. Here is the one I use, in the order I do it.
Why you should trust me
I have taught more than 5,000 classes, first in studios on commercial bikes that cost more than a used car, and now in my own garage on bikes that cost less than a phone. I have ridden everything from $3,000 commercial machines to $200 Amazon specials, and I keep a wrench set by the door because every bike in that garage has needed it.
That range is the point. A bike is a rental until it survives 1,000 rides, and most of what kills a budget bike in year one is not the frame. It is a loose seat clamp, a slipping resistance knob, pedals that were never greased, and a rider positioned so badly that they stop showing up.
How I check a folding bike before I trust it
Every bike that comes through my garage gets the same four checks, and they are also the four things you should verify on yours during the first month.
The 50 mile ride. Fifty miles over a week, not all at once. Long rides expose seat and fit problems that a 20 minute spin hides.
The standing sprint test. Full resistance, out of the saddle, hands light on the bars. If the frame walks across the floor or the handlebars flex under your grip, that is a safety problem, not an annoyance. A wobbly bike at sprint resistance is how people get hurt.
The sweat test. A 45 minute max effort ride and then a look at the frame and the resistance housing. Cheap paint and cheap hardware fail this test. So does a seat clamp that rusts.
The month three bearing check. Spin the pedals by hand with the bike off and listen. Grinding or a catch in the stroke means the bottom bracket or the pedal bearings are done, and that is a warranty conversation.
The two listings below are the same model line, which is why one setup guide covers both. They differ in which listing you land on, not in the routine you follow once the box is open.
What you need before you start
You can assemble most folding bikes with the tools in the box, but the tools in the box are usually the weak link. Have these ready before you cut the tape.
A hex key set. Metric, and a set with a ball end saves your knuckles on the seat and handlebar clamps.
A pedal wrench or a 15mm open end wrench. Pedals need more torque than a folding multi tool can deliver.
Grease. A small tube of bike grease for the pedal threads. Dry threads are the number one cause of a pedal that creaks and then seizes.
A floor mat. Folding frames are light, and light frames slide on hardwood. A mat also catches the sweat that eats paint.
A saddle you can live with. On almost every budget bike, the stock seat is the first thing to replace. Factor that into what you are spending before you buy, not after your first long ride.
A fan and a towel. Not a joke. Indoor riding without airflow is how a 30 minute ride turns into a 12 minute ride.
The two listings I point riders to
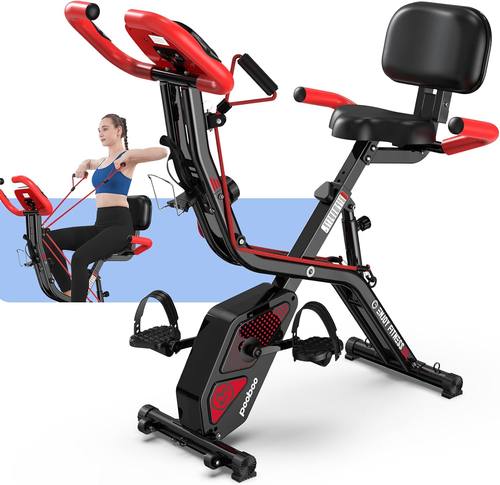
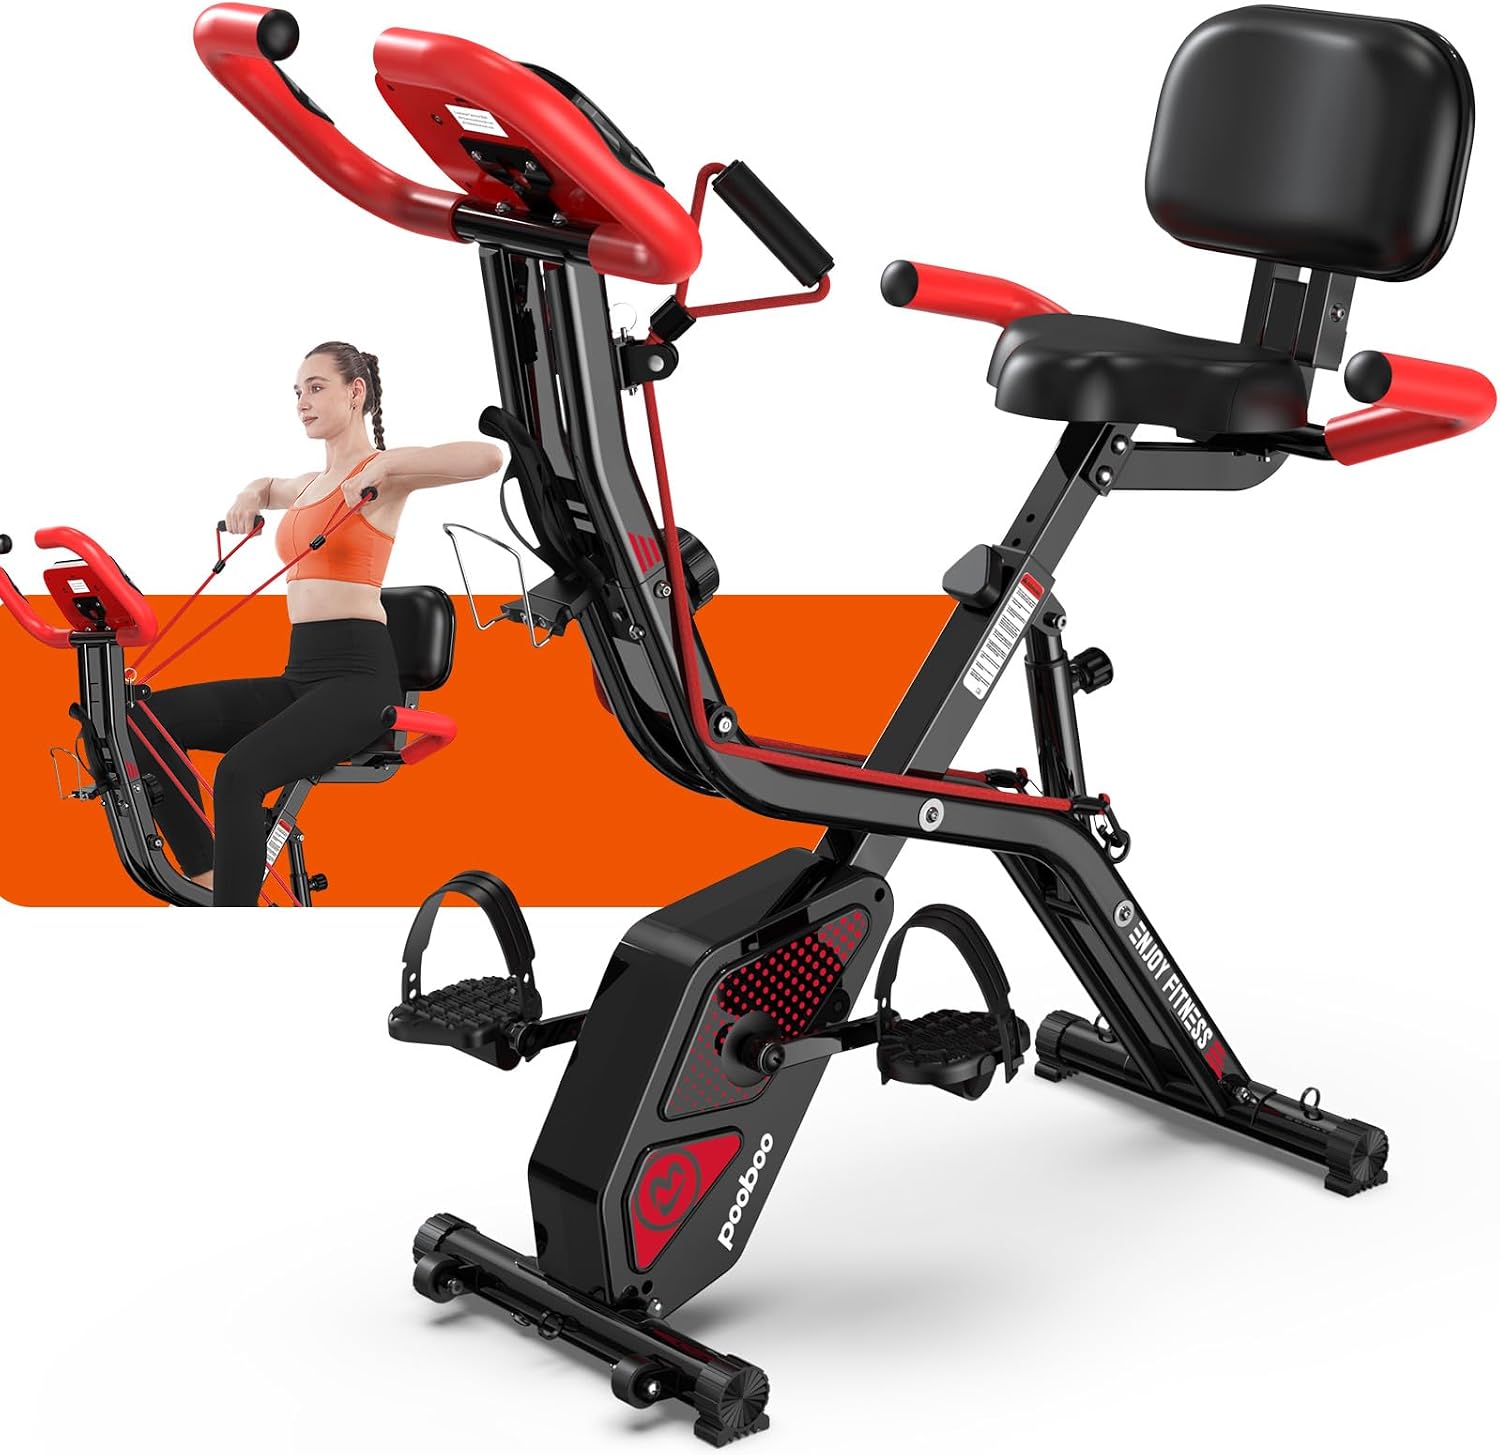
Both are pooboo folding magnetic X-bikes built for home gym use. Same name, same model line, two listings. Here is how I think about each one.
Budget pick: pooboo Folding Magnetic X‑Bike, Upright Exercise Bike for Home Gym
 Visit on Amazon →
This is the listing I send riders to when the folding part matters more than anything else. It is an upright frame, so you sit more like you would on a cruiser than on a studio spin bike, which is easier on the low back and easier for a beginner to tolerate for 30 minutes. Magnetic resistance means no felt pad to wear out and no black dust on your baseboards.
The upright position is the thing to think about honestly. If you plan to stand and climb a lot, an upright frame asks more of your core than a spin frame does, and you will feel it in the first week. If your plan is steady seated riding with a few standing pushes, this is the shape that gets used.
Check current Amazon price, and read the listing photos carefully, because the same model line shows up under more than one listing and the photos are how you tell them apart.
Flaws but not dealbreakers: Upright geometry and folding frames both trade away some of the planted feel of a full size spin bike. Set it up level, on a mat, and keep the clamps tight.
Anyone in an apartment or a spare bedroom who needs the bike to disappear when guests arrive will get the most out of this one.
Our pick: pooboo Folding Magnetic X‑Bike, Upright Exercise Bike for Home Gym
 Visit on Amazon →
Same bike, second listing, and this is the one I point to when a rider wants the full package to feel a little more finished out of the box. Everything in the setup routine below applies here word for word, which is the nice part about two listings of one model: you are not choosing between two different machines, you are choosing which listing to buy from.
Check current Amazon price on both before you commit. They sit close enough to each other that the deciding factor should be stock, shipping, and which listing is showing the configuration you want, not the few dollars between them.
Flaws but not dealbreakers: Same story as the budget listing. The stock saddle is the first upgrade, and the pedals want grease before their first ride.
Riders who want to order once and be done, without comparing a dozen frames, should start here.
The setup, step by step
Step one: Unfold it on the mat, not on the carpet. Lock the frame in the open position and check that every latch is fully seated. A folding bike that is 90 percent latched is a folding bike that folds while you are on it.
Step two: Level the feet. Most folding bikes have adjustable pads or a threaded foot on the stabilizers. Rock the bike side to side and front to back with your hand on the handlebars. If it rocks, adjust until it does not. This one step eliminates half of the "my bike wobbles" complaints I hear.
Step three: Set saddle height. Sit on the bike and put your heel on the pedal at the bottom of the stroke. Your leg should be almost straight, with a slight bend at the knee. When you clip in or place the ball of your foot on the pedal, that slight bend becomes the right amount of bend. If your hips rock side to side as you pedal, the saddle is too high.
Step four: Set saddle fore and aft. Pedals level, hands on the bars. The front of your knee should sit roughly over the axle of the pedal, not way in front of it and not behind it. If you have knee pain on the outside of the joint, this adjustment is usually the fix.
Step five: Set handlebar height. Start with the bars high enough that your shoulders can drop and your elbows can stay soft. New riders set bars too low because it looks fast, then ride with locked arms and a aching neck. Raise them. Lower them in a month if you want.
Step six: Grease and install the pedals. Grease the threads, then thread them in by hand before you put a wrench on them. The right pedal is right hand thread, the left pedal is left hand thread. Cross threading a pedal is the most expensive five seconds in home fitness.
Step seven: Check the resistance across the whole range. Turn the knob from zero to full and back, slowly, three times. It should feel smooth and even with no dead spot and no spot where it grabs. Then set it to a level you can hold for 30 minutes and note where that is on the dial, so you have a baseline.
Step eight: Do a five minute shakedown ride. Easy spin, then a few hard seated efforts, then stand up for 20 seconds at high resistance. Stop and re tighten the seat clamp, the handlebar clamp, and the frame latch. New bikes settle, and the first ride is when it happens.
Step nine: Mark your settings. A piece of tape or a paint pen on the seat post and the handlebar post. If anyone else in the house rides, this saves you 10 minutes of fiddling every session.
Step ten: Ride three times before you change anything else. Fit tweaks need a few rides to reveal themselves. Change one thing at a time.
The fit adjustments that matter more than the specs
The Q-factor, the width between your pedals, is the spec nobody mentions and everybody feels. If your knees complain after 20 minutes, and the saddle height and fore and aft are already right, pedal stance is the next suspect. Some riders fix it with a shoe cleat adjustment. Some never fix it on a given frame, which is worth knowing before the return window closes.
The other quiet factor is the saddle. A seat that feels like a brick at mile 20 will end your program faster than any spec sheet problem. If the stock saddle is not working after three rides, replace it. A saddle that fits you beats a bike that measures better on paper.
The checks that predict whether it survives month three
Re tighten the frame latch monthly. Folding joints work loose. That is not a defect, it is a hinge.
Wipe the frame after every hard ride. Sweat is the cheapest paint stripper you own.
Listen to the pedals. A creak that shows up in week six is usually dry threads or a loose pedal, not a dead bearing. Fix it before it becomes one.
Spin the cranks by hand with the bike off. You are listening for a grind or a catch. If you hear it, call about the warranty instead of riding through it.
Check the resistance knob under load. If it slips mid ride at high resistance, that is a safety issue and a return, not something to live with.
Why a folding bike instead of a full size spin bike
A full size spin bike with a heavy flywheel feels better to ride. I will not pretend otherwise. Flywheel weight is marketing until you are standing on the pedals, and then it is physics.
But a full size bike needs a permanent corner, and a bike that lives in a permanent corner gets ridden more, right up until the day it becomes a coat rack because the room it lives in is the room you want back. A folding magnetic bike gives up some ride feel and buys you the ability to put it away. For a rider in a 600 square foot apartment, or a rider sharing a living room with a partner who did not sign up for a spin studio, that trade is usually the right one.
What this actually costs you
The bike is not the whole bill. Budget for a saddle if the stock one does not work, a mat, a fan, and eventually a second set of pedals if you ride in cycling shoes. None of those are urgent, and none of them need to happen in week one.
The math that matters is not the purchase price. It is cost per ride. A folding bike that you set up correctly and actually use three times a week beats a nicer bike that you use twice a month, every single time. The setup routine is what decides which of those two riders you turn out to be.
Do the ten steps once. Mark your settings. Then stop thinking about the bike and start thinking about the ride. That is the job.