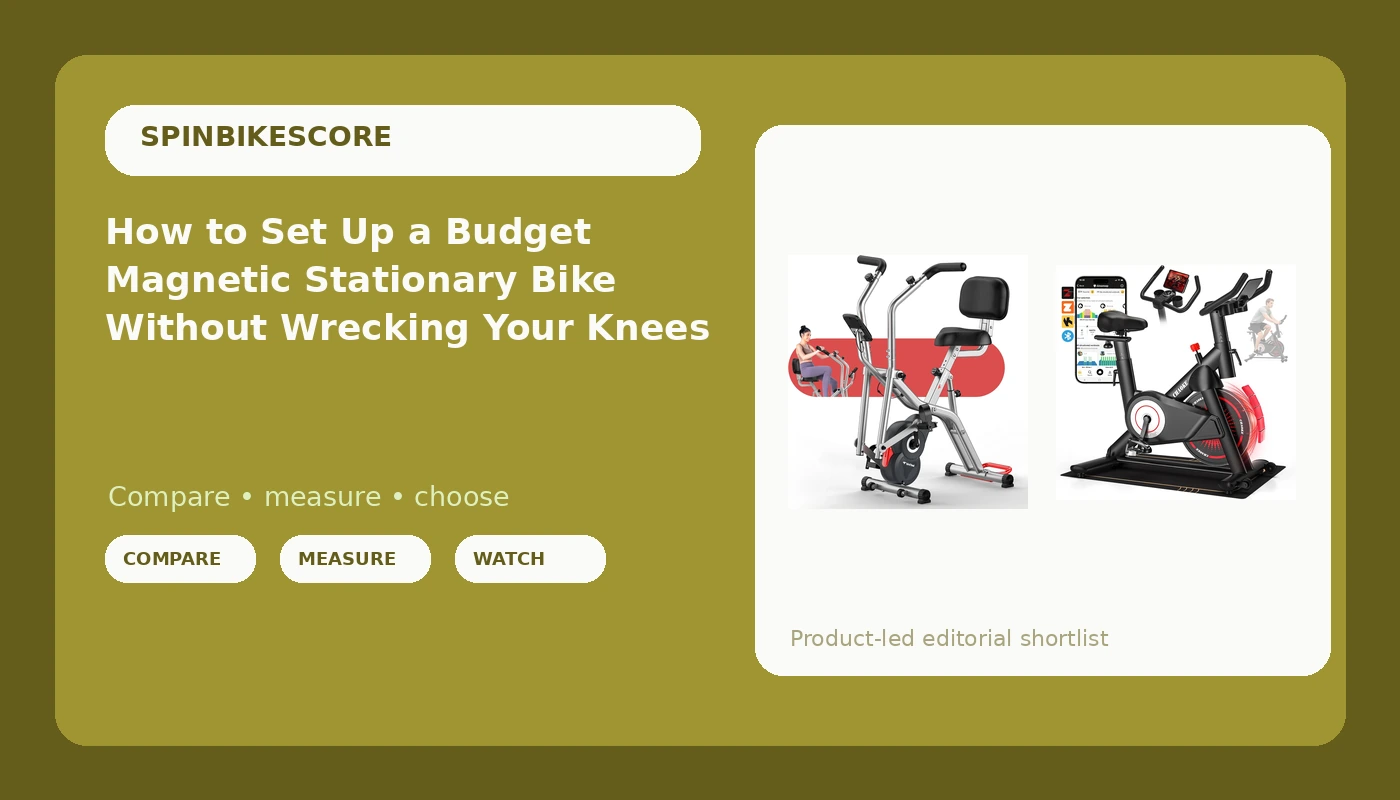
Most people who quit a home spin bike quit in week three, and the bike is usually not the reason. The setup is. A bike sitting two inches too low, bolted to thick carpet, with a saddle that feels like a brick at mile 20, will kill the habit faster than any spec sheet can save it.
I have taught indoor cycling for 14 years, more than 5,000 classes, and I now run my own program out of a converted garage in Boise. The riders who stick with it at home are the ones who treated the first hour like a setup job instead of a workout. That is what this guide is. If you own a budget magnetic stationary bike, or you are about to buy one, here is how to get it planted, fitted, and ridden long enough that the habit takes over.
Why you should trust me
Fourteen years of teaching, five thousand plus classes, and a garage full of bikes that range from a commercial Keiser down to cheap Amazon specials. I ride them the way my riders ride them: 50 miles a week, a standing sprint at full resistance, a 45-minute sweat test where I look at what the paint does afterward, and a bearing check at month three.
I keep a wrench set by the door because every bike in my garage has needed one. That is the honest version of home fitness. Nothing here is exotic. It is bolts, fit, and floor.
How I picked and how I tested
There are two bikes in this guide, and I picked them on the four questions I ask about any bike in this price class. Does it stay planted when you stand up at full resistance? Is the resistance smooth across the whole range, not just the easy half? Will the seat and the pedals survive month three? And would I teach a class on it?
The gear list below is what I would buy alongside the bikes. It is not glamorous. A mat, a wrench set, pedals or shoes that do not flex, and a fan matter more in the first month than any app subscription.
What you need before the bike arrives
- A metric Allen key set and a 13 to 15 mm wrench. Most budget bikes ship with a multi-tool that rounds off the first bolt you lean on.
- A rubber equipment mat, at least 4 mm thick. Tile and concrete are fine. Thick carpet is not, because a bike that sinks into pile will rock at sprint speed, and a wobbly bike at sprint resistance is a safety hazard, not an inconvenience.
- Stiff-soled shoes. Running shoes flex under load and move the work into your feet. Cycling shoes with a firm plate, or stiff cross-trainers, are the cheap fix.
- A floor fan and two towels. One for you, one for the frame. Cheap paint fails the sweat test, and wiping the frame down after every ride is how you keep rust from starting at the seat post.
- A replacement saddle if you plan to ride more than 30 minutes at a time. The seat is the first thing to replace on 90 percent of budget bikes, so factor it into the price before you buy anything else.
- A phone or tablet holder if you ride with classes. A screen on the handlebars beats propping it on a shelf and craning your neck for 45 minutes.
The two bikes I would start with
Both of these use magnetic resistance, which is the right call in this price range. Magnetic resistance is smoother than felt pads and it does not wear out, and on a budget frame the difference shows up around month three, when a felt pad starts squealing and losing tension.
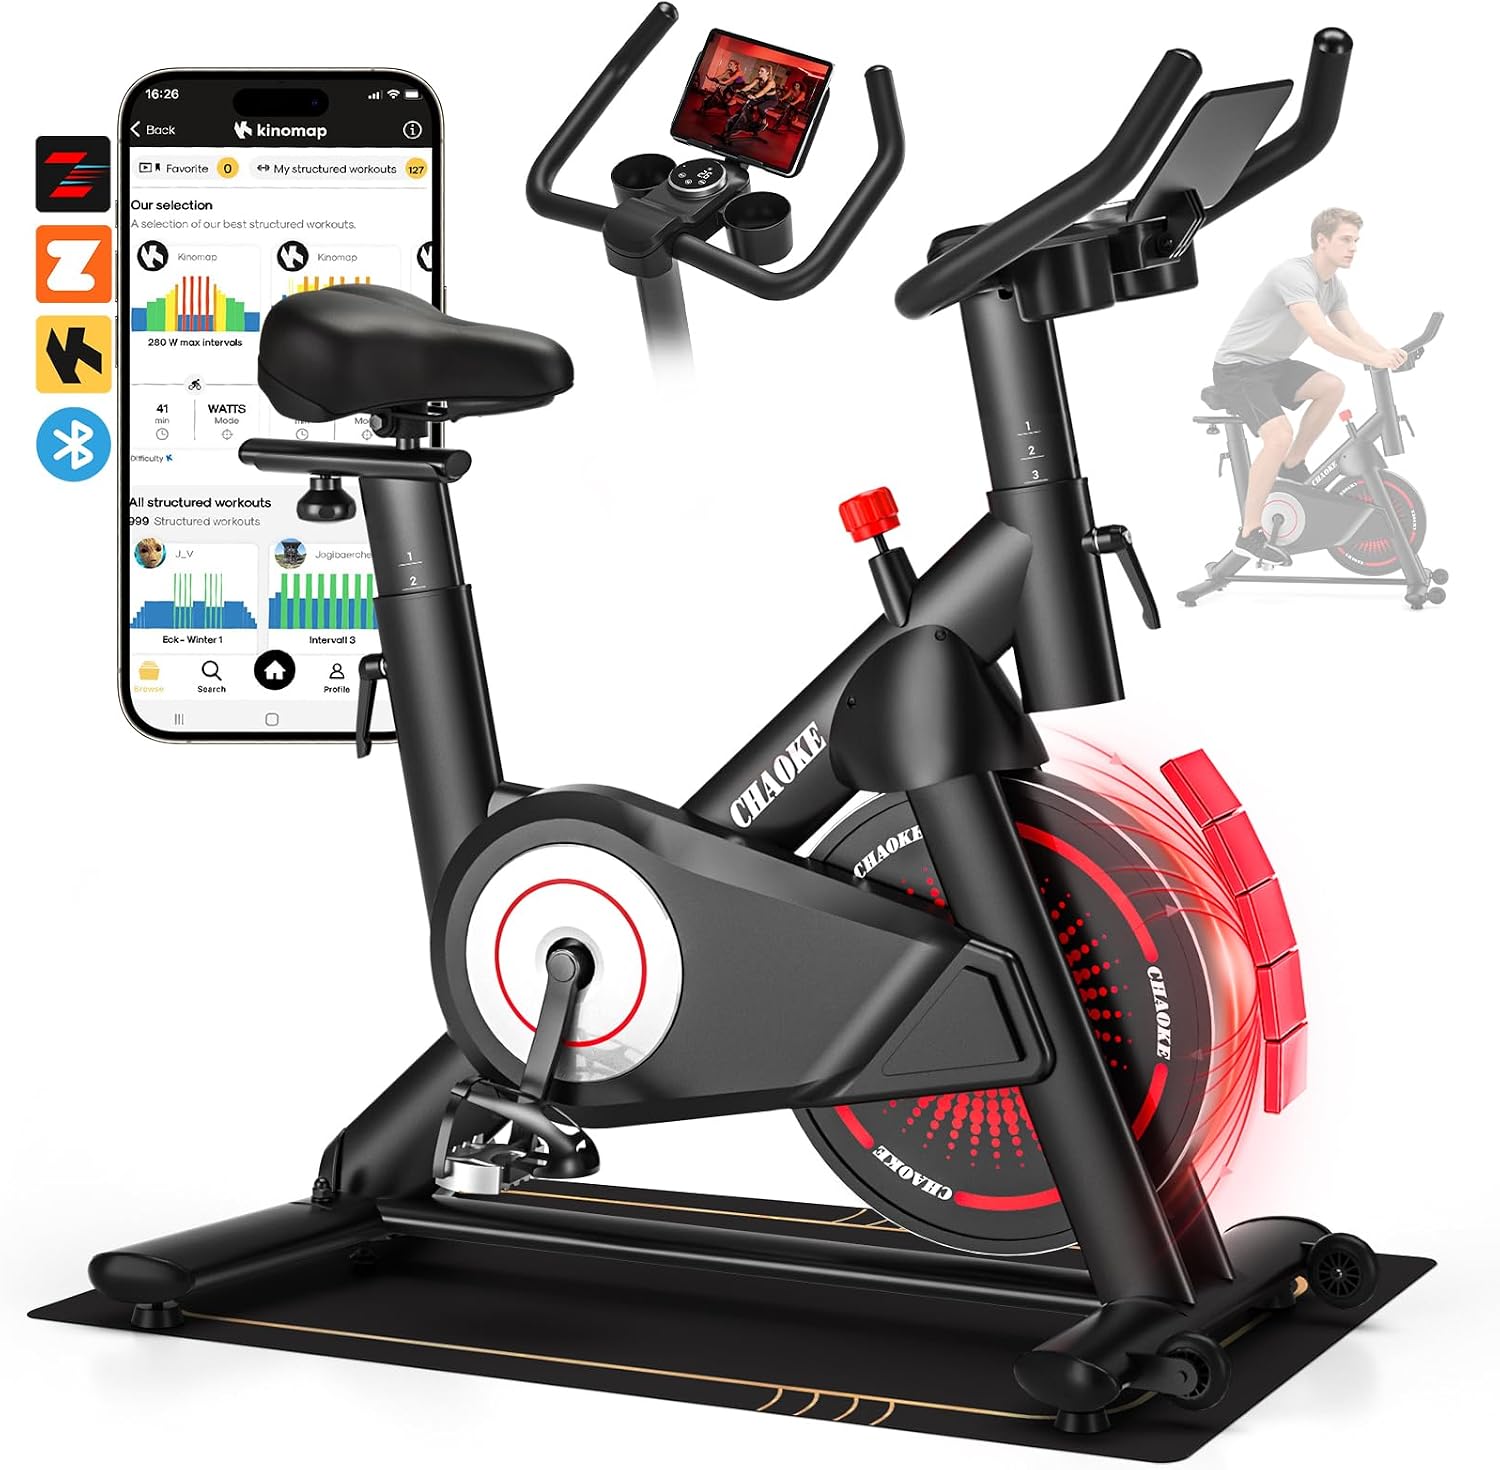
Our pick: CHAOKE Exercise Bike, Quiet Adjustable Magnetic Stationary Bike for Home Cardio with App Compatible, 350LB Weight Capacity Indoor Cycling Bike with Comfortable Seat, Digital Display for Home Fitness
 Visit on Amazon →
The spec that matters most here is the 350 pound weight capacity. That number tells you the frame, the seat post, and the weld at the bottom bracket were specced for a real load, which is the difference between a bike that stays planted in a standing climb and one that creaks and leans. App compatibility means you can run a class on your phone instead of buying a screen, and the digital display covers what you actually need: time, speed, distance, and cadence.
Treat the word quiet as a description of the resistance type, not a promise about the room. Magnetic resistance has no pad dragging on a flywheel, so it will not squeal, but every bike in this class transmits some noise through the floor. The mat handles most of it.
Flaws but not dealbreakers: A comfortable seat on a budget bike is comfortable for about 20 minutes. If your rides run longer, plan on a saddle swap. Check the resistance knob tension in the first week too, because a knob that slips mid ride is the most common failure at this level.
This is the bike I would hand a rider who wants to stand up, sprint, and ride 45 minutes without thinking about the equipment.
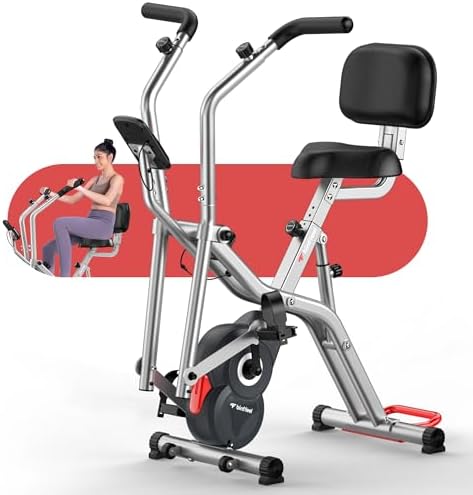
Best for tight spaces: Foldable Elliptical Exercise Bike, 8-Level Magnetic Stationary Bike Home
 Visit on Amazon →
This is a different animal and I want to be clear about that. It is a foldable elliptical, so the pedals travel a stride path instead of a circle. Eight levels of magnetic resistance is enough for steady state work and light intervals. It is not a bike you stand up on, and it is not the tool for a standing sprint day. If your goal is spin class, buy the bike above.
Where this wins is footprint and low impact. It folds, it stores against a wall, and the stride pattern takes some load off the knees and lower back. For a rider coming back from an injury, or someone in an apartment who cannot leave a bike out in the living room, that trade is worth it. Just know that you are buying a low impact cardio machine, not a spin bike.
Flaws but not dealbreakers: Eight resistance levels is a narrow range. You will outgrow the top end faster than you expect if you ride four or five days a week. A folding joint is also a moving part, so it needs a bolt check more often than a fixed frame.
Anyone in a small apartment, or anyone whose knees have opinions, should look here first.
The setup, step by step
Now the part that decides whether you are still riding this thing in February. Do it in this order.
Step one: pick the floor and level the bike. Put the mat down first, on the hardest surface you have. Then set the bike on it and check for rock by pushing down on each corner of the frame, then on the handlebars. Most bikes have adjustable feet on the front and rear stabilizers. Turn them until the bike does not move. Do this before anything else, because you will be sitting on it while you adjust the rest.
Step two: tighten every bolt you can reach. Budget bikes ship assembled by someone in a hurry. Go around the frame with your own Allen keys and check the handlebar post, the seat post collar, the console mount, the stabilizers, and the pedals. Pedals are the one people get wrong: the left pedal is reverse threaded, so it tightens counterclockwise. If it feels like it is fighting you, you are turning it the wrong way, and cross threading a crank arm is the end of that crank arm.
Step three: set the seat height. Stand next to the bike and set the saddle level with your hip bone. That is a starting point, not a finish line. Then sit on it, put your heel on the pedal at the bottom of the stroke, and pedal backward. Your knee should be almost straight, with just a slight bend. If your hips rock side to side when you pedal, the seat is too high. If your knee stays bent at the bottom, it is too low, and that is how you end up with sore knees at mile 20.
Step four: set the fore and aft position. The seat slides forward and back on its rails, and this is the adjustment almost everyone skips. With the cranks level, the front of your kneecap should sit roughly over the spindle of the pedal. Too far forward and your knees take the load. Too far back and you will feel it in your lower back.
Step five: set the handlebars. Height first, then reach. If your shoulders creep up toward your ears, the bars are too low. If your arms lock out straight, they are too far away. You want a soft bend in the elbow and a relaxed shoulder. On a budget bike you often cannot move the bars forward or back, so you adjust the seat instead. That is fine. Fit the rider to the bike you have.
Step six: check the pedals and the cages. Plastic toe cages are the first thing to fail on any budget bike. If yours came with them, either ride in stiff shoes with the cages off, or swap to pedals with a real platform and metal straps. Check that the crank arms are tight before your first hard effort, then again after it.
Step seven: test the resistance across the whole range. Before you ride hard, turn the knob from the easiest setting to the hardest and back. It should feel smooth and even. If there is a dead zone at the bottom, or the tension jumps, that is a return window issue, not a wear in issue. Run this test in week one while you still have options.
Your first three rides
Ride one is 20 minutes at a resistance you would call easy. You are checking fit, listening for rattles, and letting the bike settle. Ride two is 30 minutes with two or three harder efforts, still seated. Ride three is your first standing effort, and it is a test: stand at a moderate resistance and see whether the bike stays planted. If it rocks, get off, check the stabilizer feet and the floor, and try again. A bike that wobbles only at sprint speed is a hazard, and you want to find that out at a moderate effort rather than at full gas.
The month three check
This is the appointment most people miss. At month three, do four things.
Check the bearings by lifting the front of the bike and spinning the pedals by hand. A rough or gritty feel means the bottom bracket is dry or failing. Listen for a knock at the same time.
Re-torque the pedals, the crank arms, the seat post collar, and the handlebar post. Vibration loosens bolts, and the seat post collar is the one that lets go at the worst possible moment.
Inspect the saddle and the paint at the seat post and the console mount. Sweat is the enemy of cheap paint, and a rust ring at the seat post is the first sign.
Test the resistance knob again. If it slips under load, replace the knob assembly or the tension mechanism before it fails mid ride.
What this all costs
Check current Amazon price on both bikes before you decide, because this category moves. The honest math is the bike plus the extras: a mat, a wrench set, shoes or pedals, and a saddle if you ride long. That total is still less than a year of studio classes in most cities, which is why I will always recommend the bike that fits you over the bike that costs more.
Caveats and what I would skip
Skip anything with "whisper quiet" in the name if the resistance knob is plastic. You will feel it in year two.
Skip a bike with no handlebar height adjustment if you are under 5'2" or over 6'0". You can move the seat to compensate, but only so far.
Skip felt pad resistance if you ride daily. Felt pads are fine if the bike is built right, but they wear, and you will be ordering replacements.
Skip the subscription until you have ridden ten times. Buy the bike, ride it for two weeks, then decide whether you want classes at all.
The short version
Setup is: hard floor, mat, level the feet, tighten every bolt, seat to hip height, knee slightly bent at the bottom, kneecap over the pedal spindle, bars where your shoulders relax, then test the resistance across the full range in week one. That is an hour of work for years of riding.
The bike you will actually use is the one that fits you and does not wobble. Pick the bike for the way you ride, set it up like you plan to keep it, and check the bolts at month three. That is the whole job.